

Hi!
Lately I’ve taken a keen liking to taking pictures of objects in a particular style known as the flat lay style. A flat lay is a picture of objects styled on a flat surface in a visually appealing arrangement, typically taken from above.
I find this to be a quick and cathartic exercise that takes 10 to 30 minutes. I like to think of it as a creativity flash challenge. My flat lay craze started with magazines (because yes I hoard magazines) then evolved to make up and perfume bottles and now any and everything I can put together. My sister has even picked up on this little craze of mine, I always rearrange the table on our lunch dates while waiting for the food to arrive to get that perfect shot and I won’t let her eat until I get it. #Shameless
I try my best to post my own pictures now because my Instagram page is an extension of my CV, being in the marketing and branding industry you have to showcase your creativity and understanding of digital social media so why not create your own content. The best part about this content creation is the only tool needed is your camera phone.
Apart from Pinterest and Tumblr I get my inspiration from these local Instagrammers gorgeous feed:
Here’s how to go about getting the perfect shot:
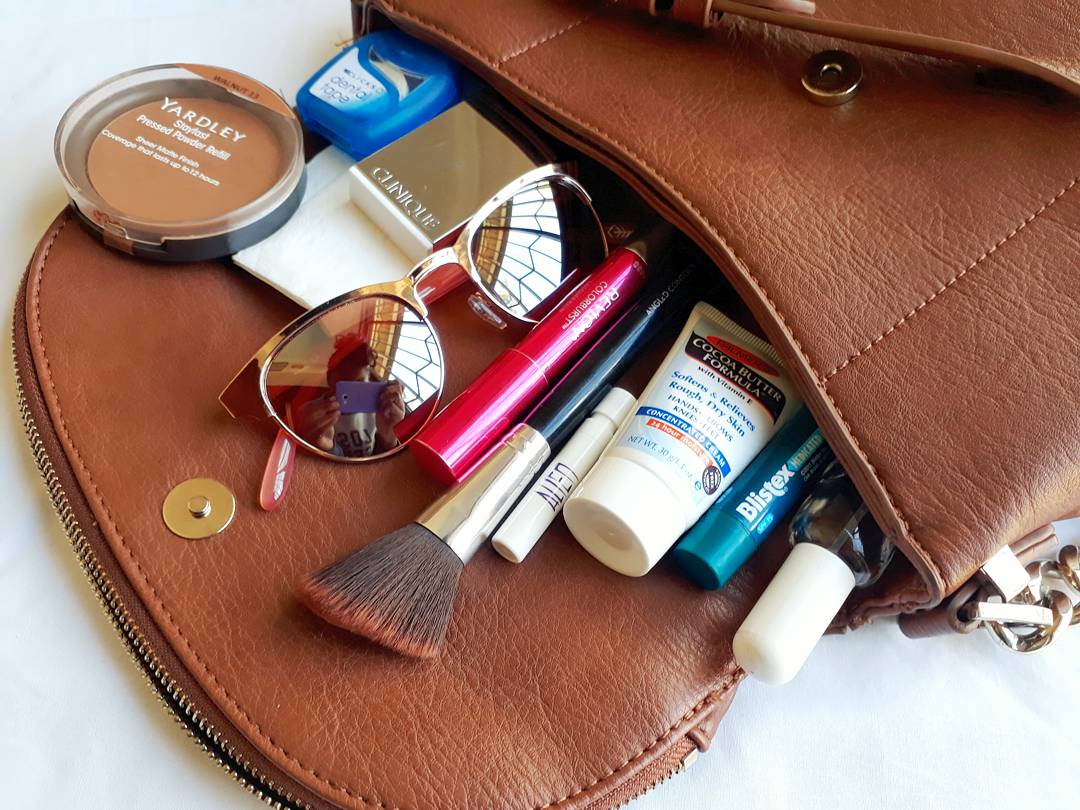
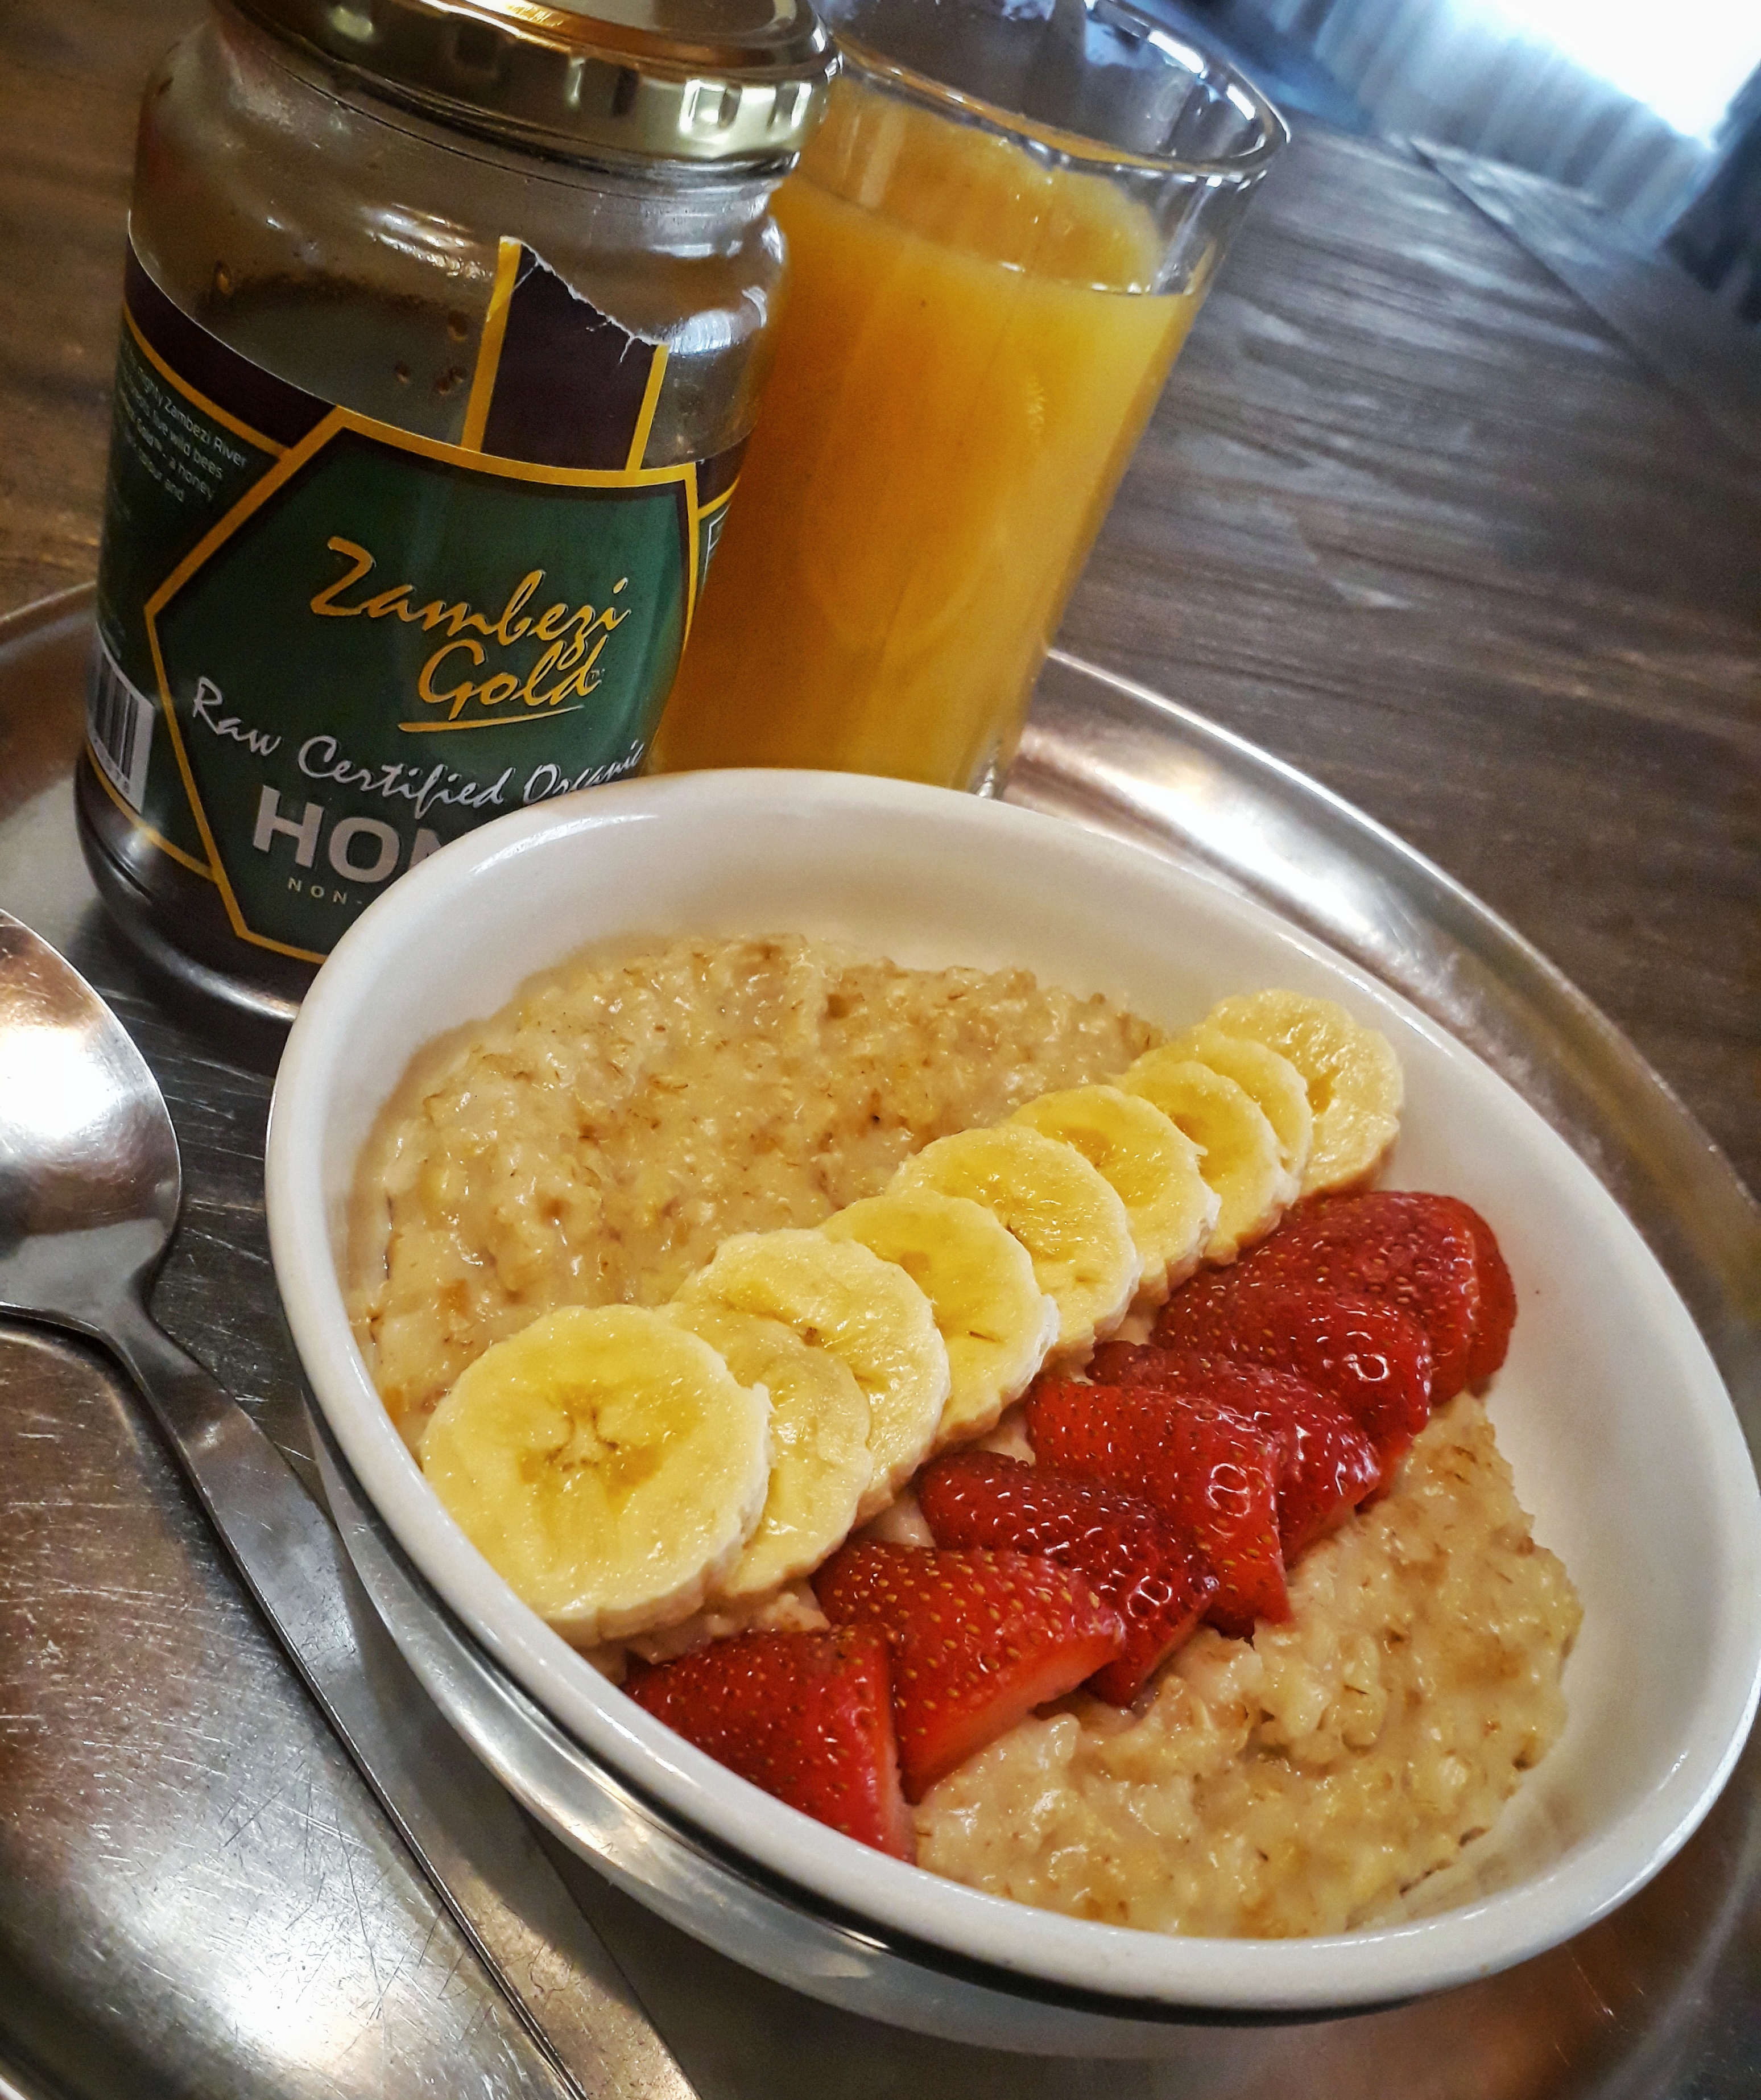
1. Choose a theme- A pictures says a thousand words and flat lays can be a mix of one or multiple related or unrelated objects but either way you still want to tell a story with your picture and wow your followers. Themes can range from a colour scheme, makeup, ‘what’s in my bag?’, food, a collection, accessories, a weather season, clothes, an #ootd, books, a picnic, stationary, travel essentials kit, flowers, old vs. new, etc… . The choice is yours. I would advice to make a general colour your guiding sub-theme.
2. Background- The background is the canvas of your story and what makes the objects stand out. This includes colour, print and texture. I typically go for a neutral white background using a white cotton sheet or a colour that compliments the objects. Don’t be scared to play around with textures such as grass, wood, wool, sand, faux fur, a rug or even a tiled floor. Also avoid shiny glossy surfaces as they may alter the lighting of the picture, reflecting your light source and you might see your own reflection and other surrounding objects in the picture.

An example of a bad flat lay:
3. Use what you got- you don’t have to go out and buy tons of ornaments and props, just use what you have. You’ll be surprised with the cute little gems you can gather in your home. The most mundane things can create a beautiful picture BUT if you really must get new props try Mr Price Home, Pep Home, H&M Home, Sheet Street and Typo. Lucky me my mom is a florist so I get fresh cut flowers in abundance.

4. Layout- this pertains to:
1- spacing between objects, meaning do you want the objects apart, not touching or overlapping. You can even stack objects on top of each other.
2- positioning- this depends on whether one or all objects are the focal point of your selected theme so you can centre all the objects or have some cut out of the frame. Also do you want an organised neat setting or an easy subtle arrangement.
3- size and proportions of the objects- some objects will definitely be much bigger than others, taking up all the space and attention. Imagine a pair of stud earrings or a ring next to a 1 litre bottle or A4 size magazine…yep! that’s kinda awkward looking but this is where good camera angles come into play.
4- quantity- too many objects can look a confusing hot mess and too little objects can look dull and boring, therefore not telling a story. You don’t have to use all 43 items that fit into your makeup theme, less is more but sometimes more is more. Choose wisely.

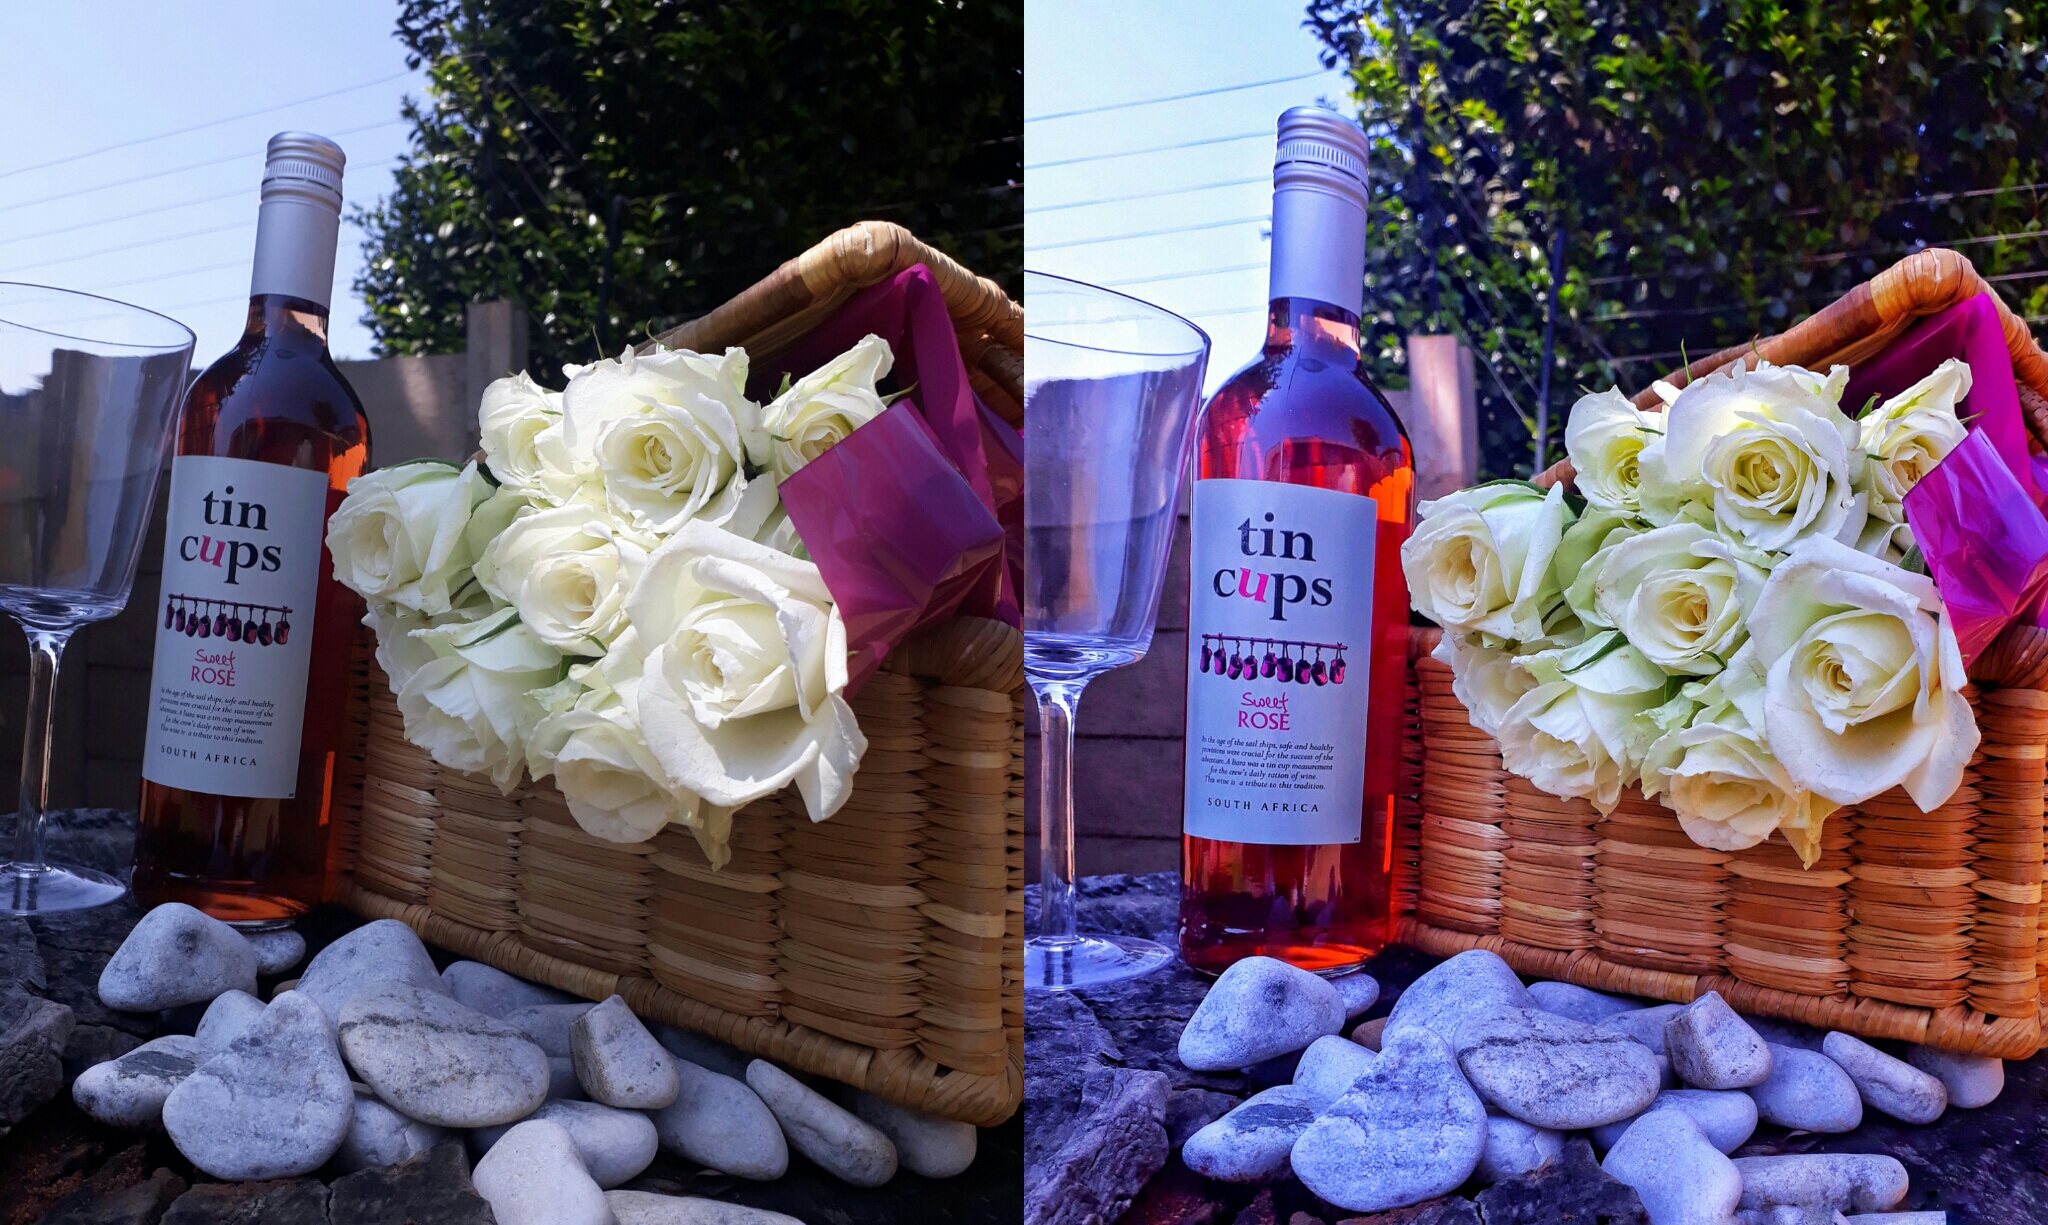
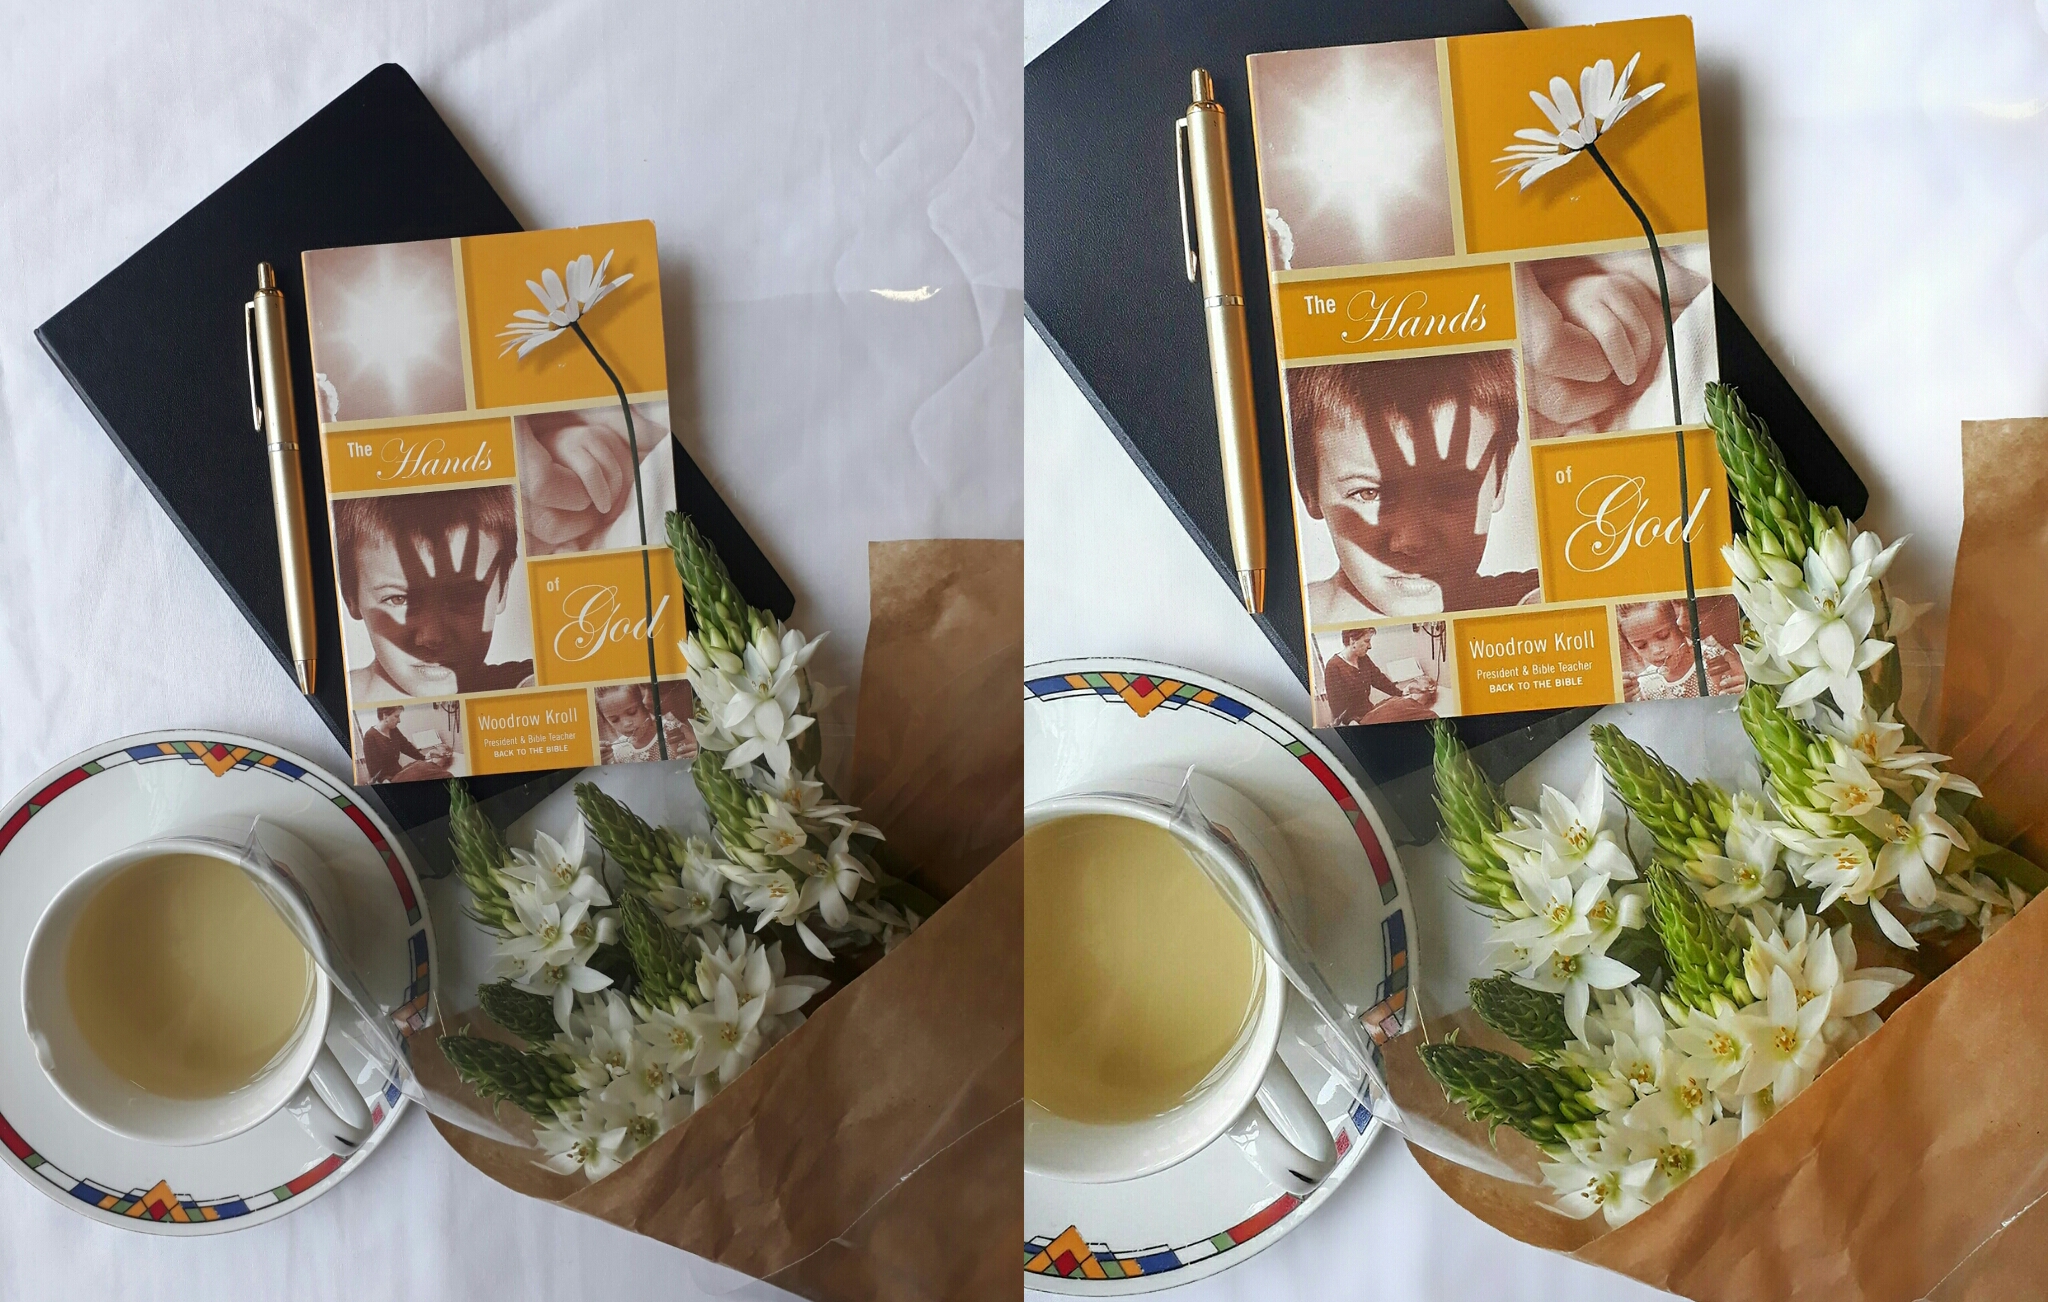
5. Lighting, angles and editing- Any good photographer will assure you the best time to shoot is before and after midday when the sun is not at its peak, that would be sunrise and sunset. Excessive light can wash out colour so I always make use of natural daylight indoors next to a window. You can always manipulate lighting and object proportion with your camera angles or closing curtains. A flat lay picture doesn’t always have to be taken from directly above, hovering the objects. Do a few test shots to see which angle and height works best. Don’t be scared to edit the picture to make it look better. Enhance colour, blur out backgrounds, adjust structure, contrast, increase saturation, alter perspective, etc… . Here are my before and after edits using the Snapseed and Airbrush editing apps that don’t alter picture quality:
6. Own it!- You put effort into creating this beautiful Insta shot which will be admired and reposted by others so why not have your name on it? Add a feint subtle watermark of your social media handle to the picture. This comes in very handy if you’re a blogger working with brands or trying to grow your presence or show off your skill. I’m personally not too fussy about this but sometimes credit should be given where it is due, you don’t want somebody stealing your pictures (neither should you, ask for permission). A local celebrity once used a picture right off my sister’s Insta feed with no credit, it wasn’t a major issue for her but it just kinda sucked that everyone was marvelling this picture that actually belonged to her.

Bonus tip: there are no rules!☺️Creativity cannot be judged so have fun with it. Create whatever your eyes see, it is your story to tell after all. Keep at it and before you know it you’ll have a good eye for photography and a beautiful consistent Insta feed.
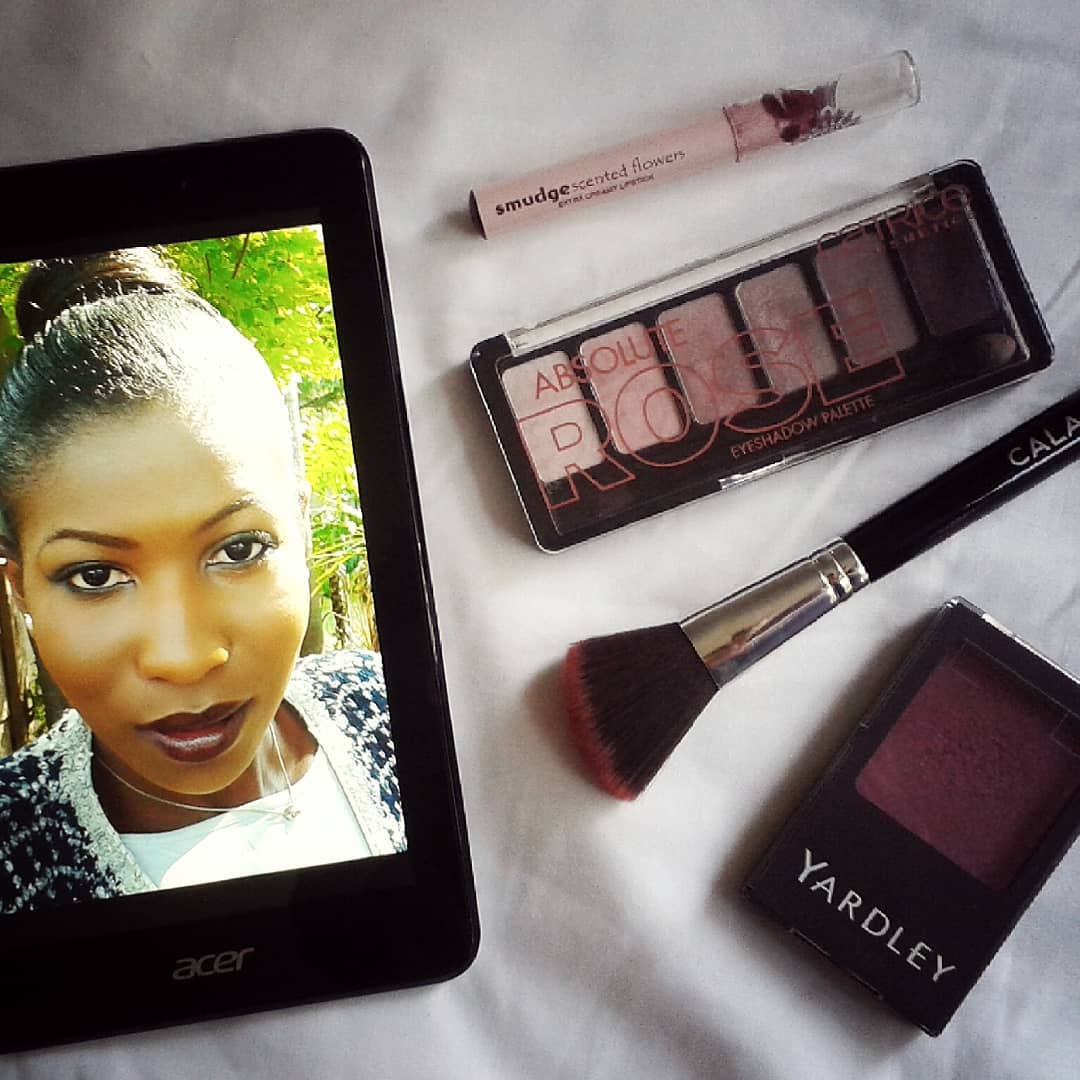
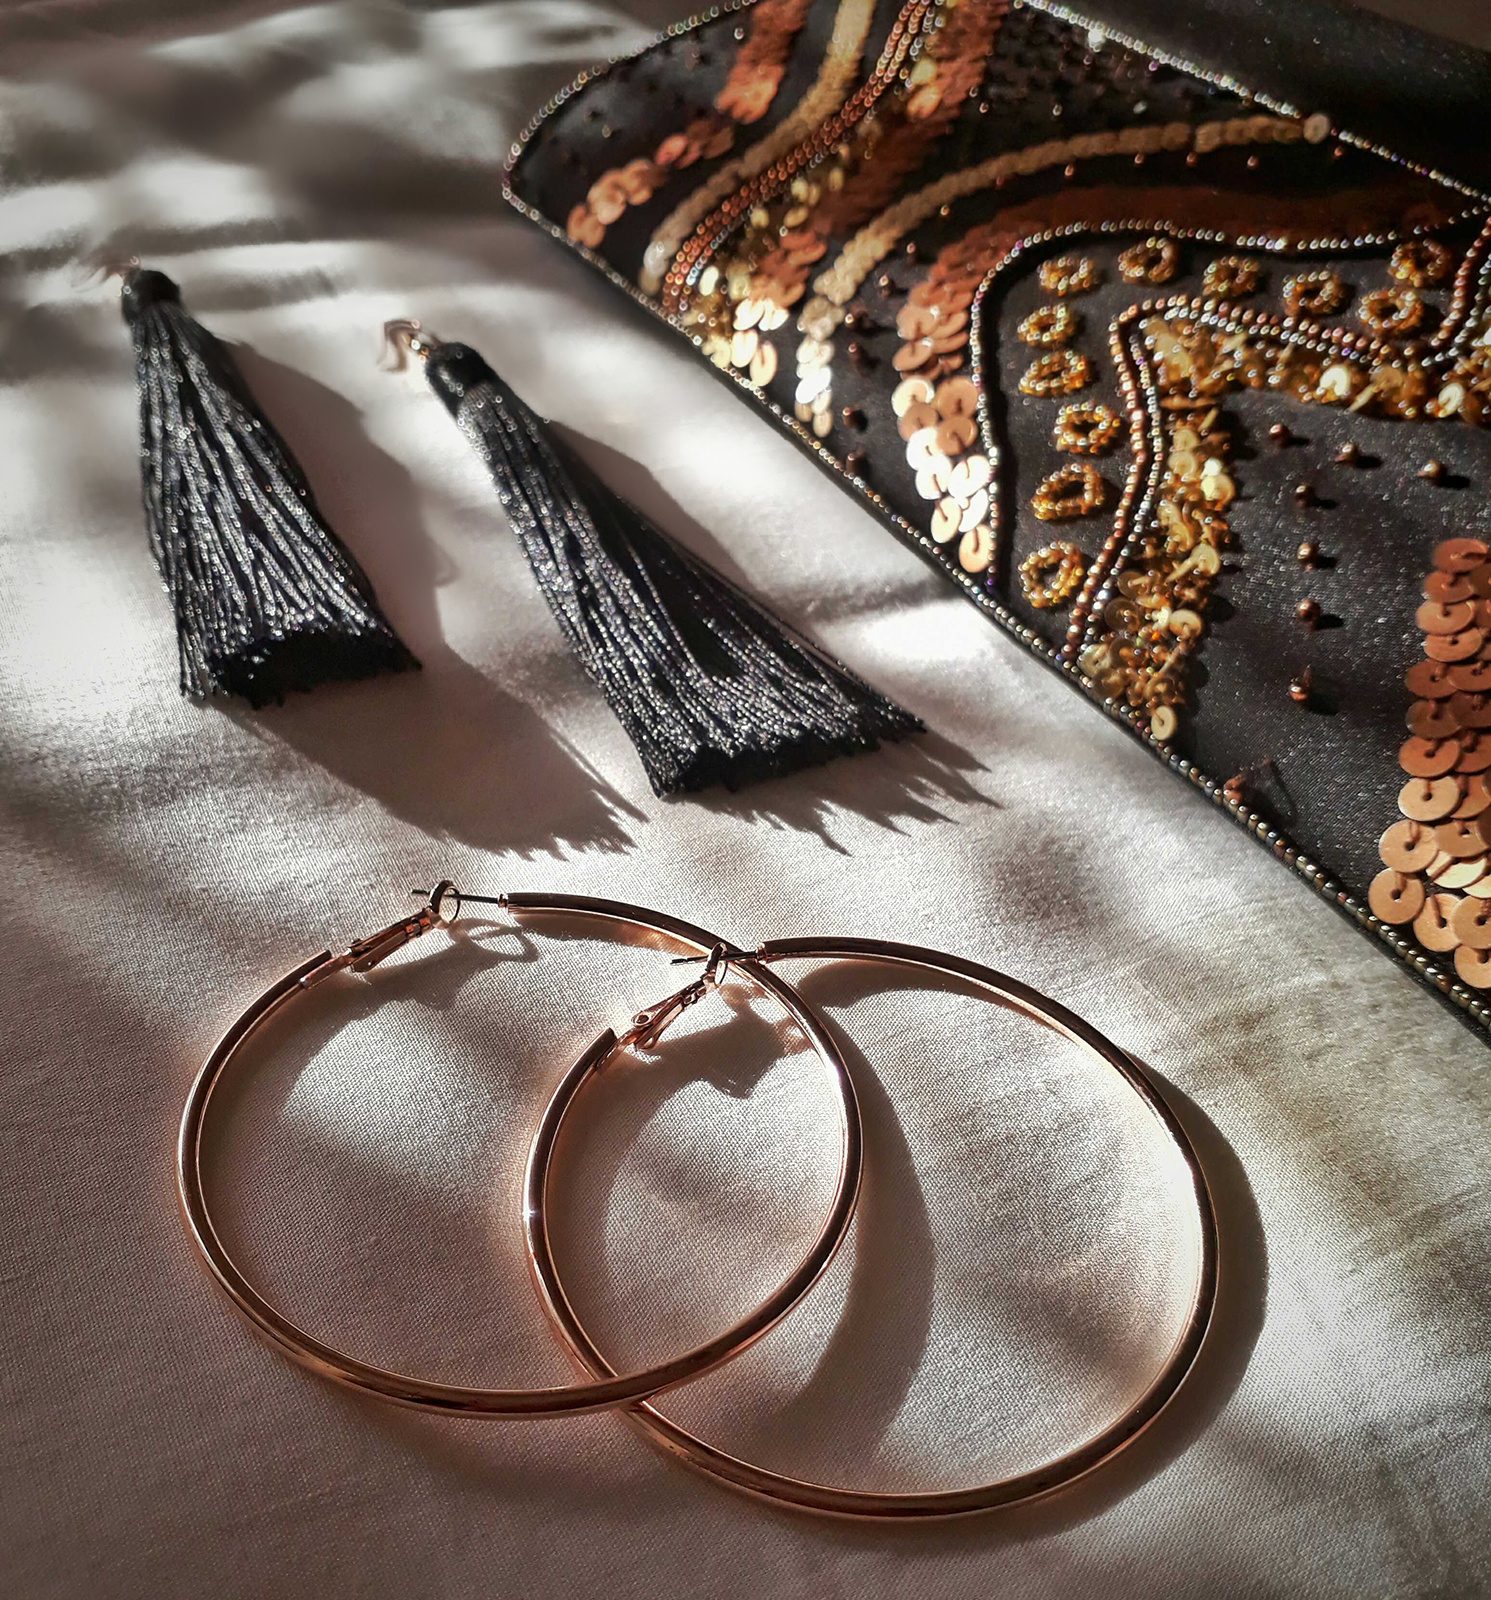
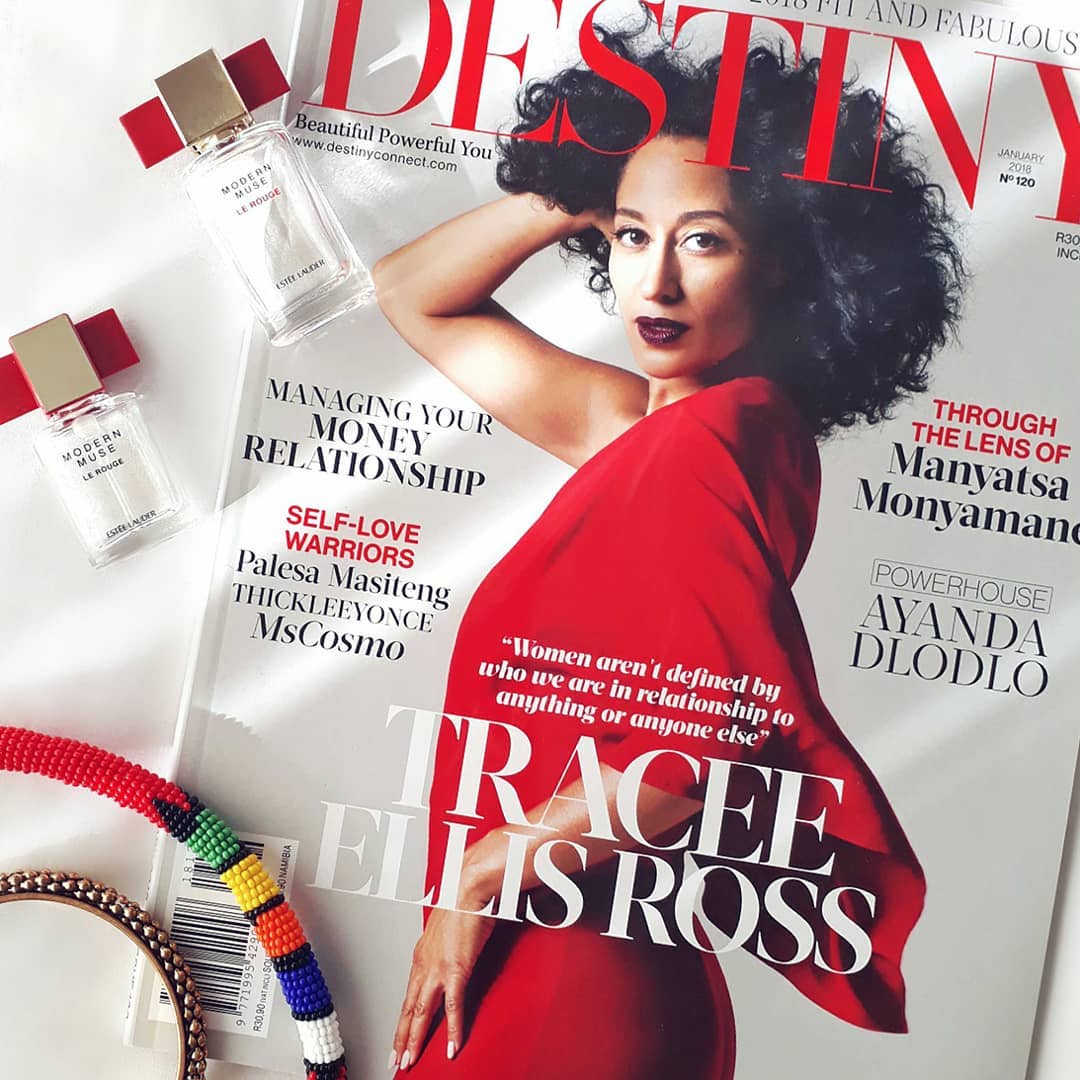
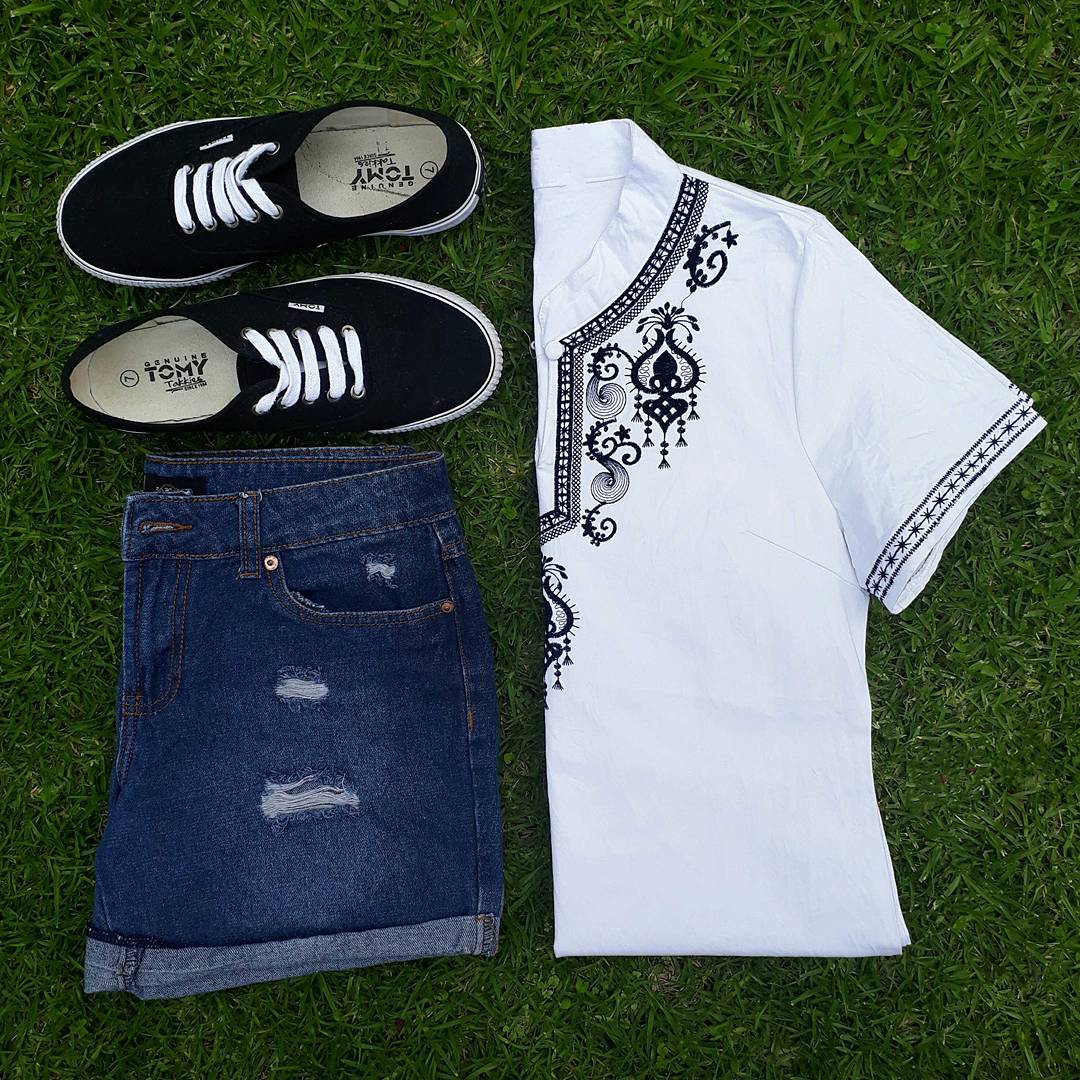
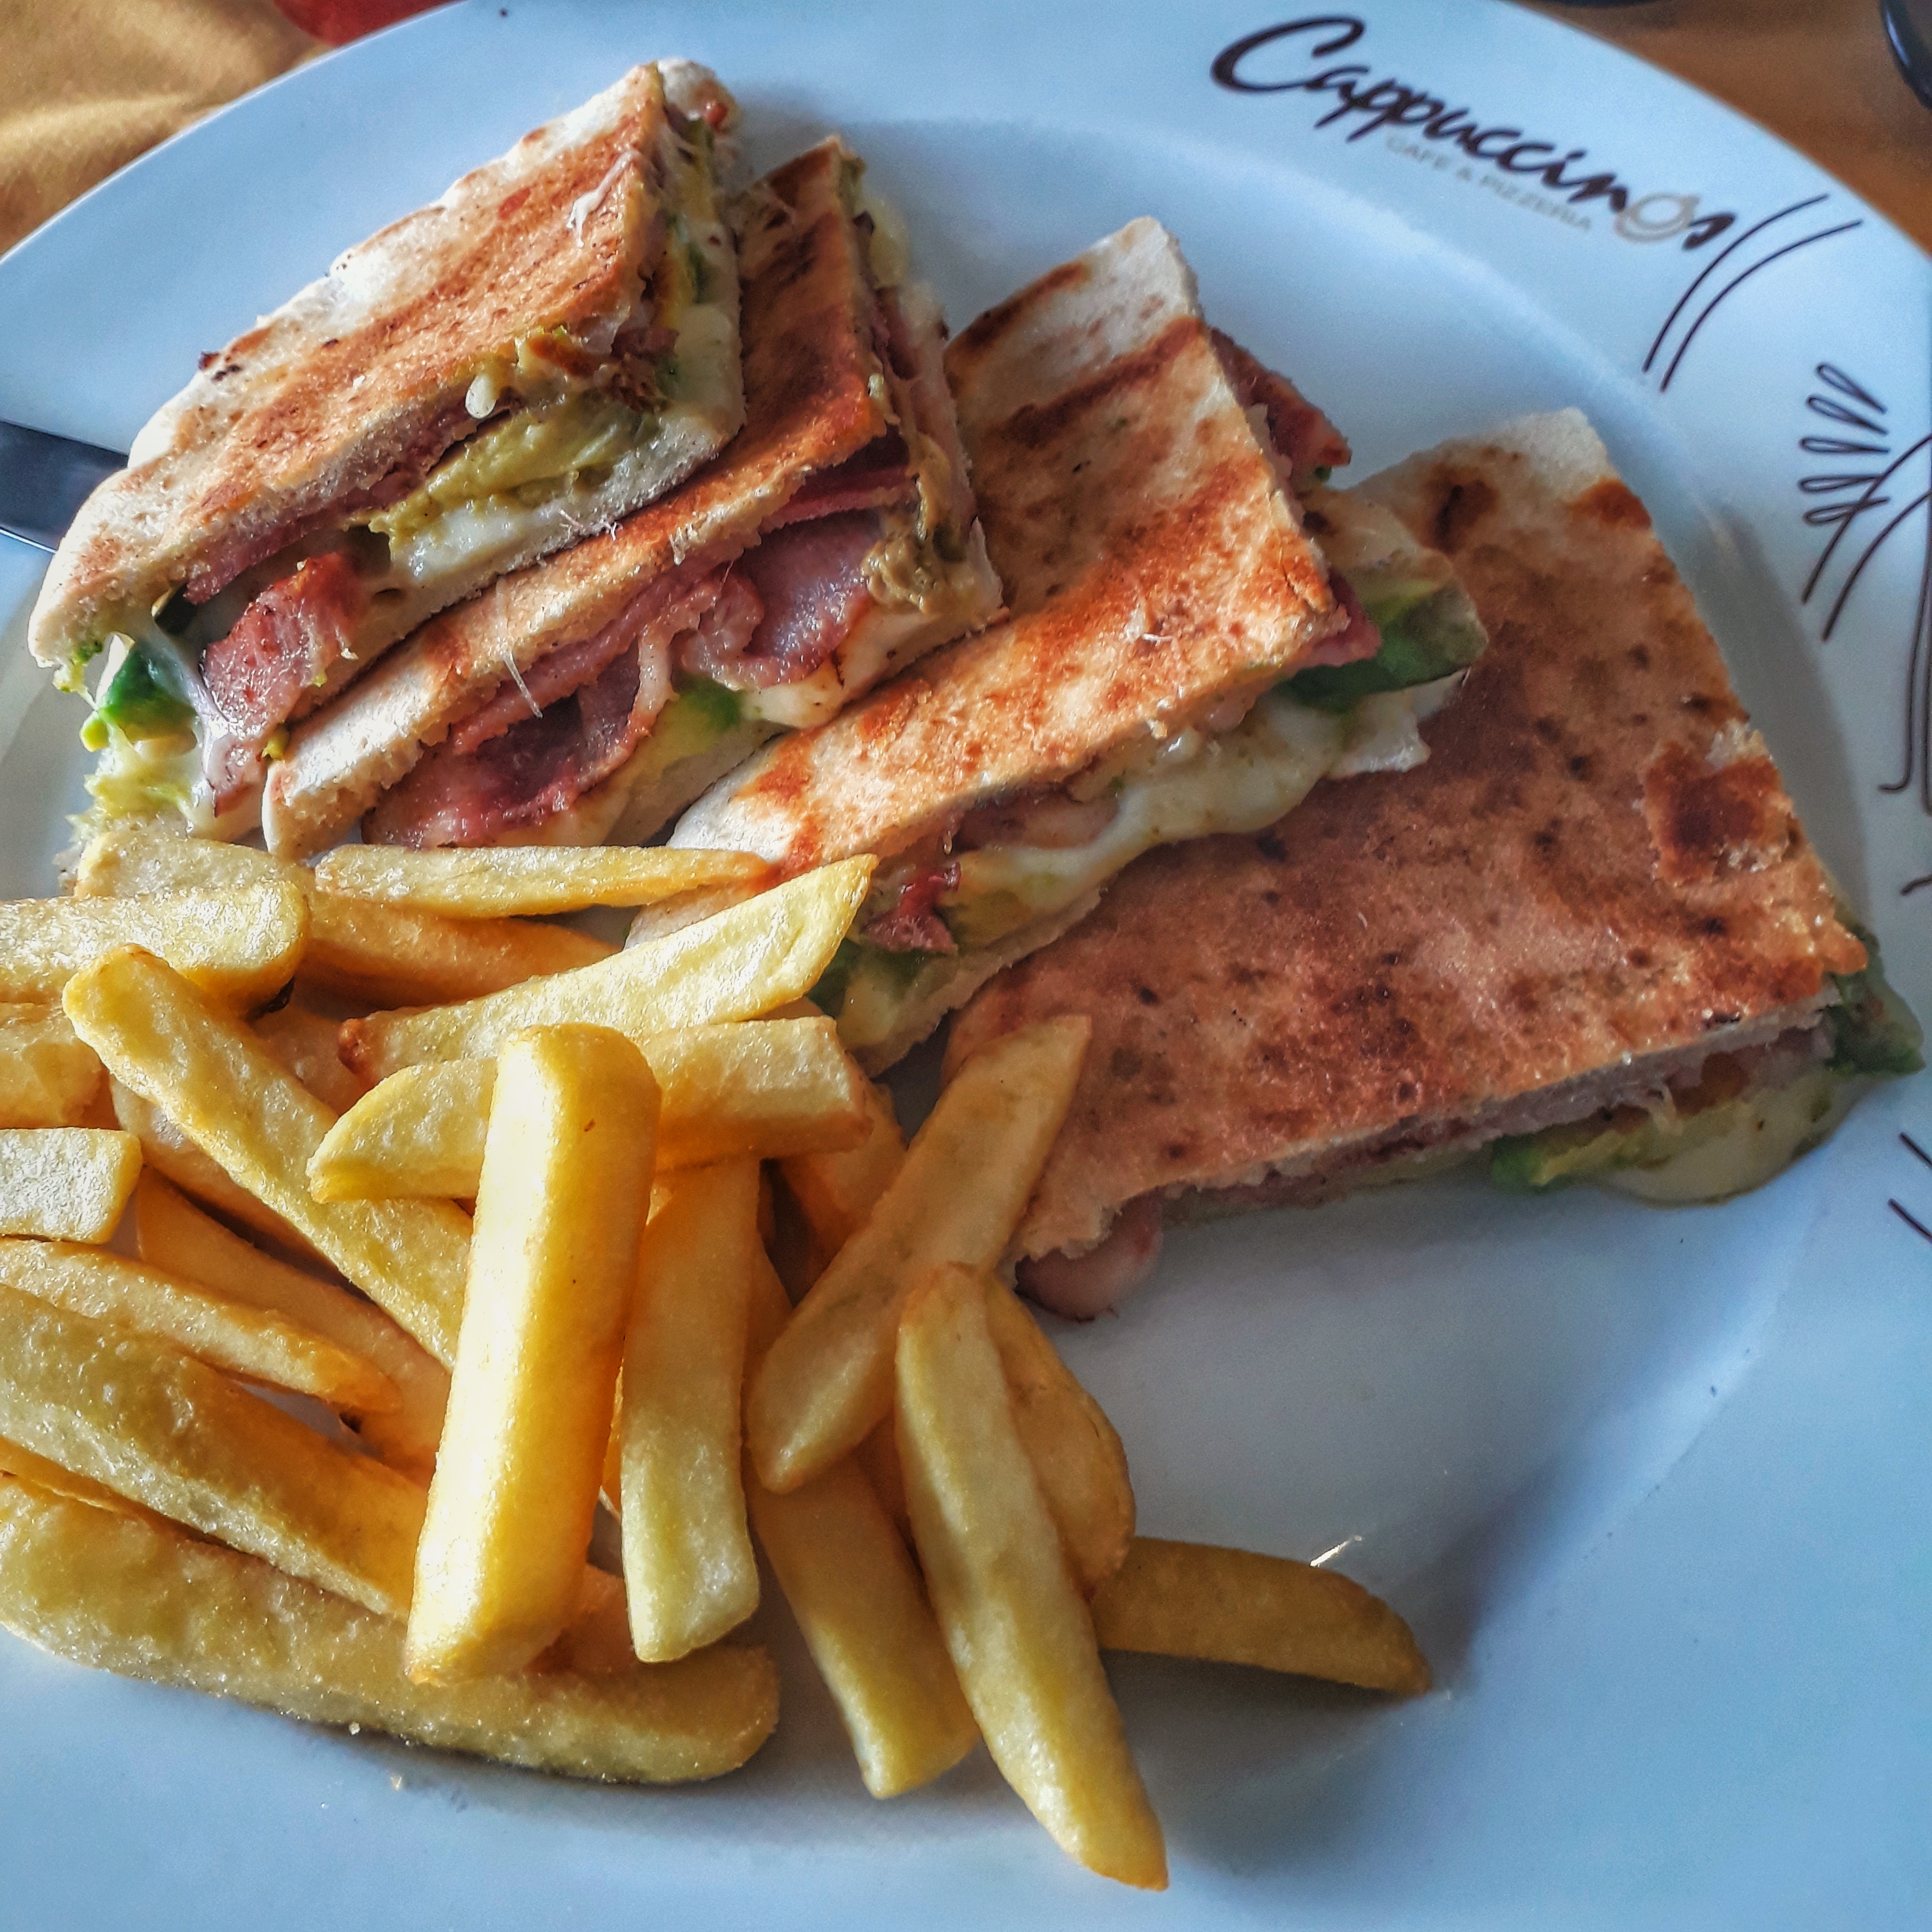
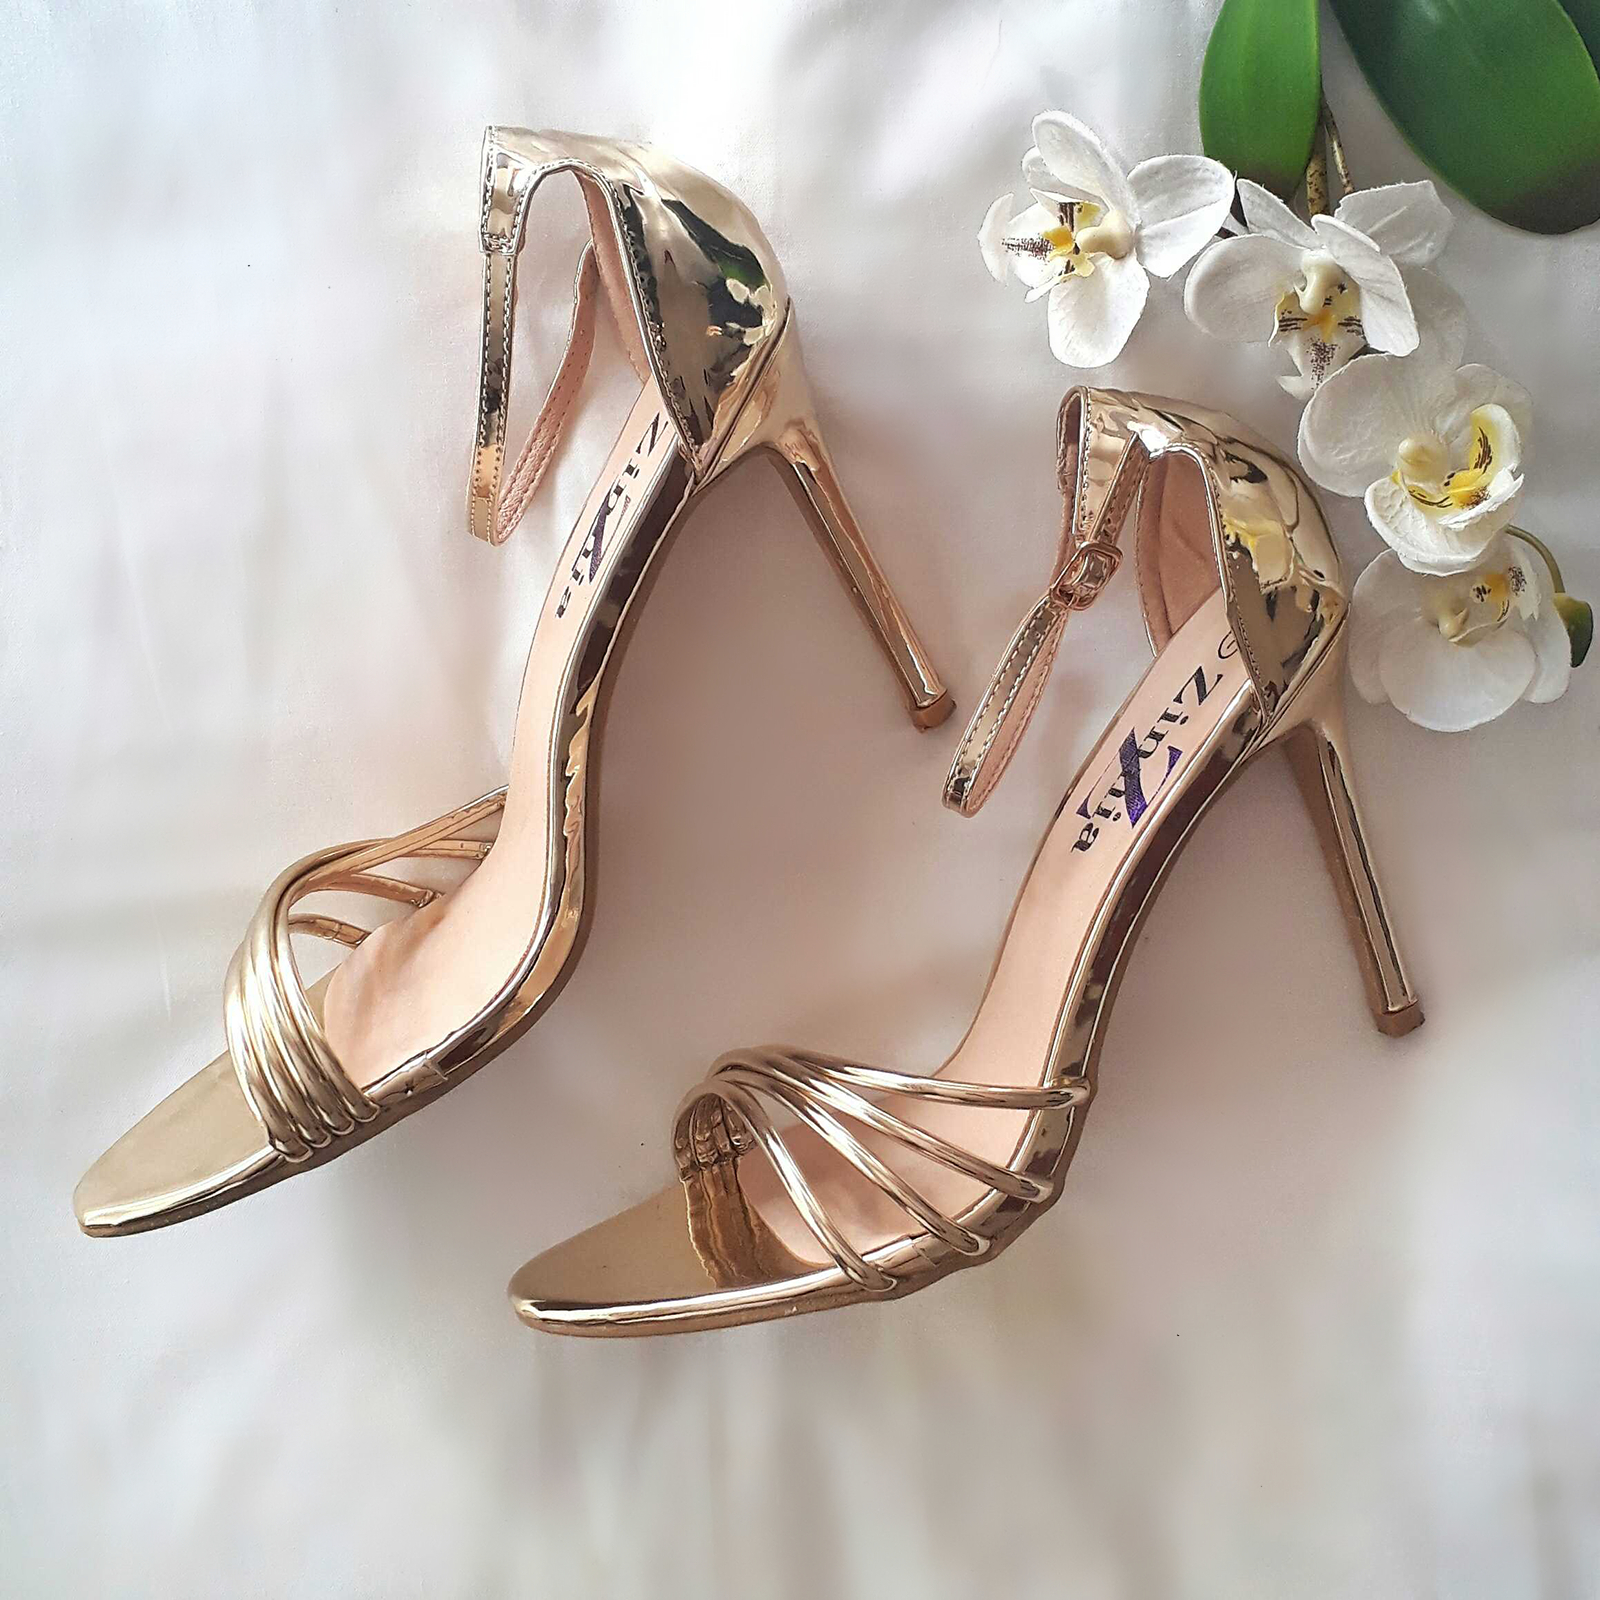
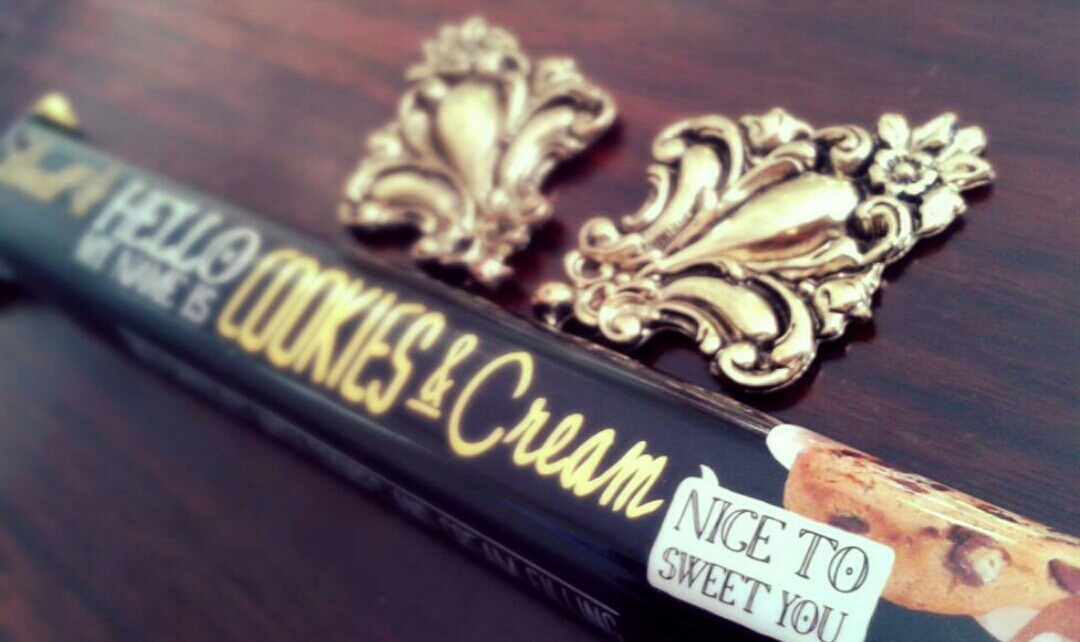
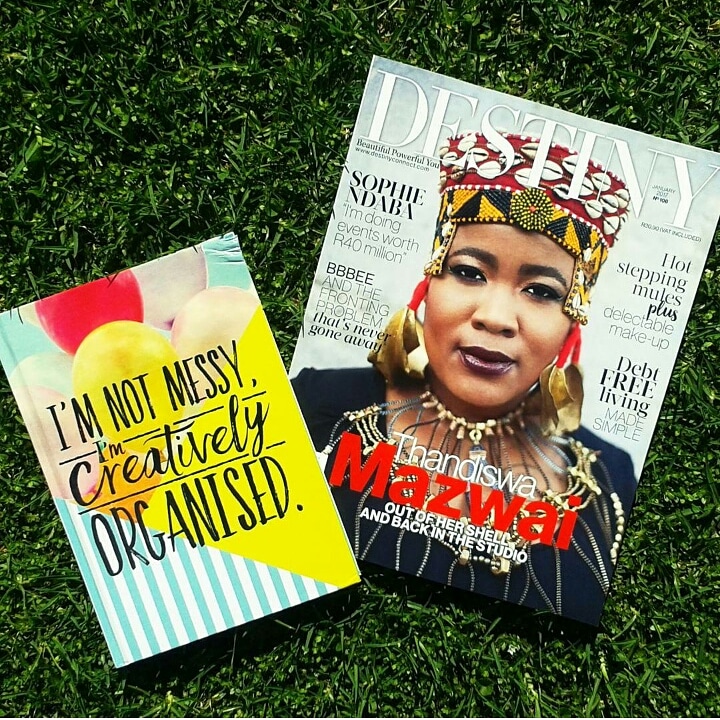
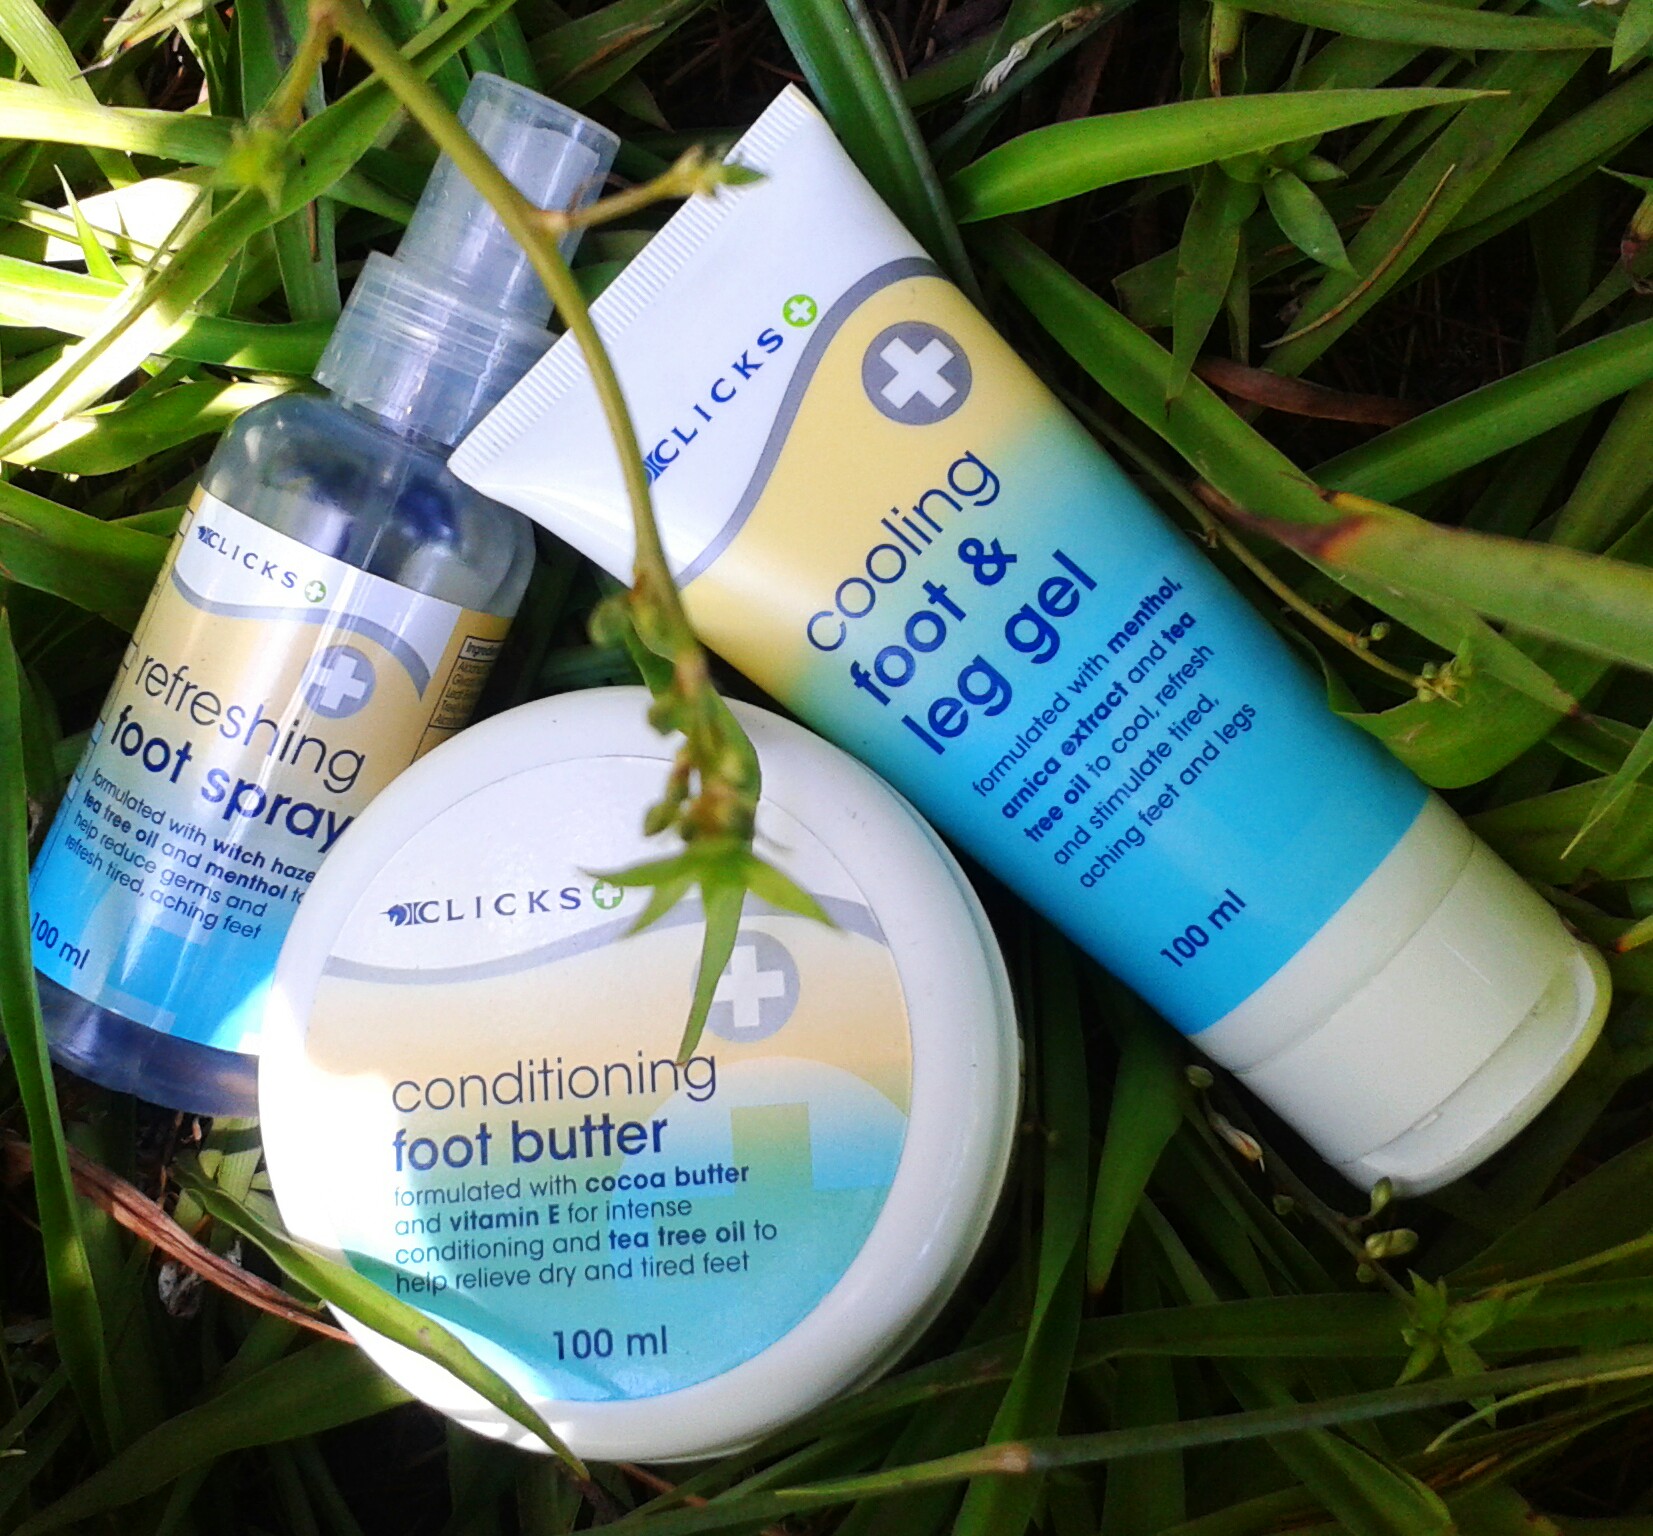
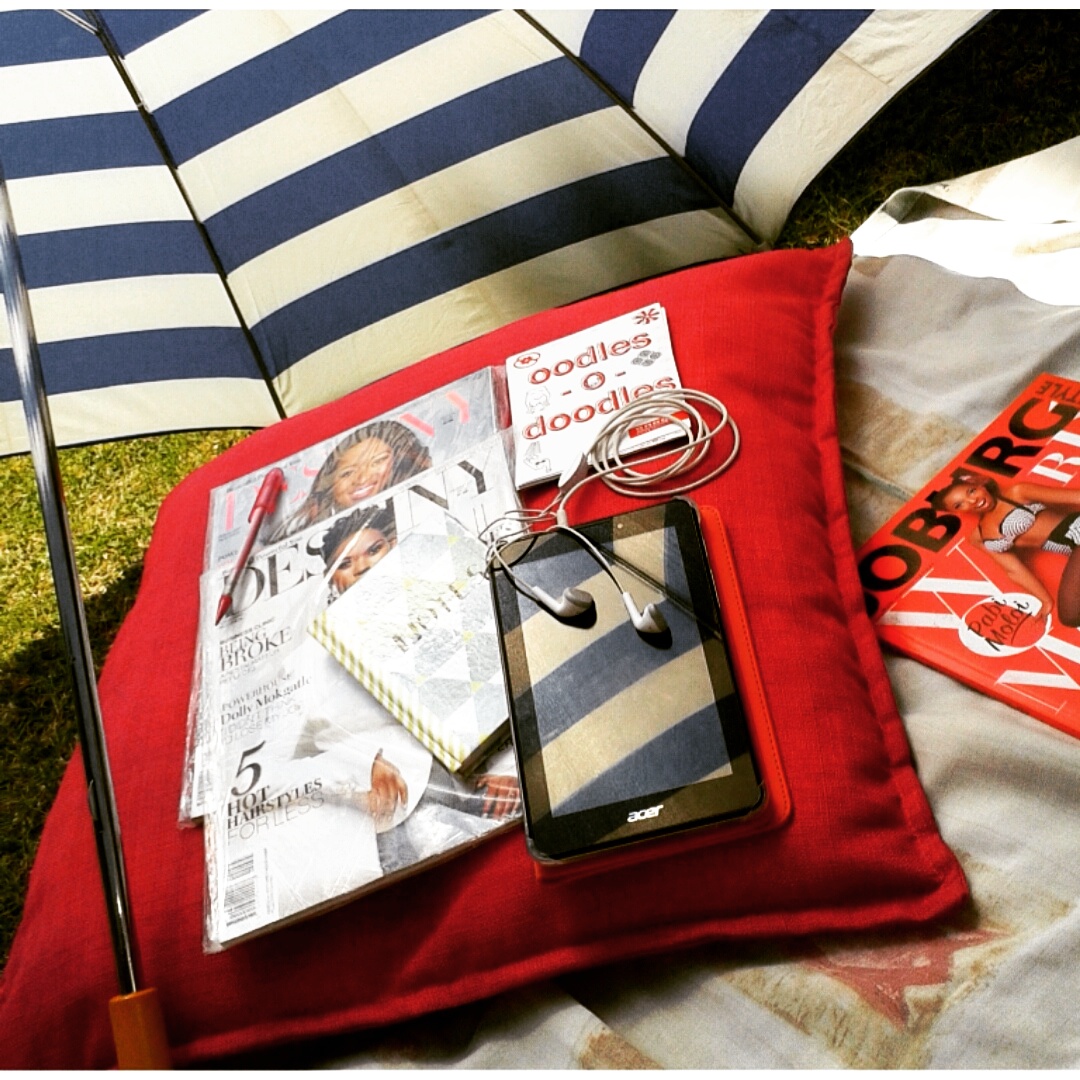
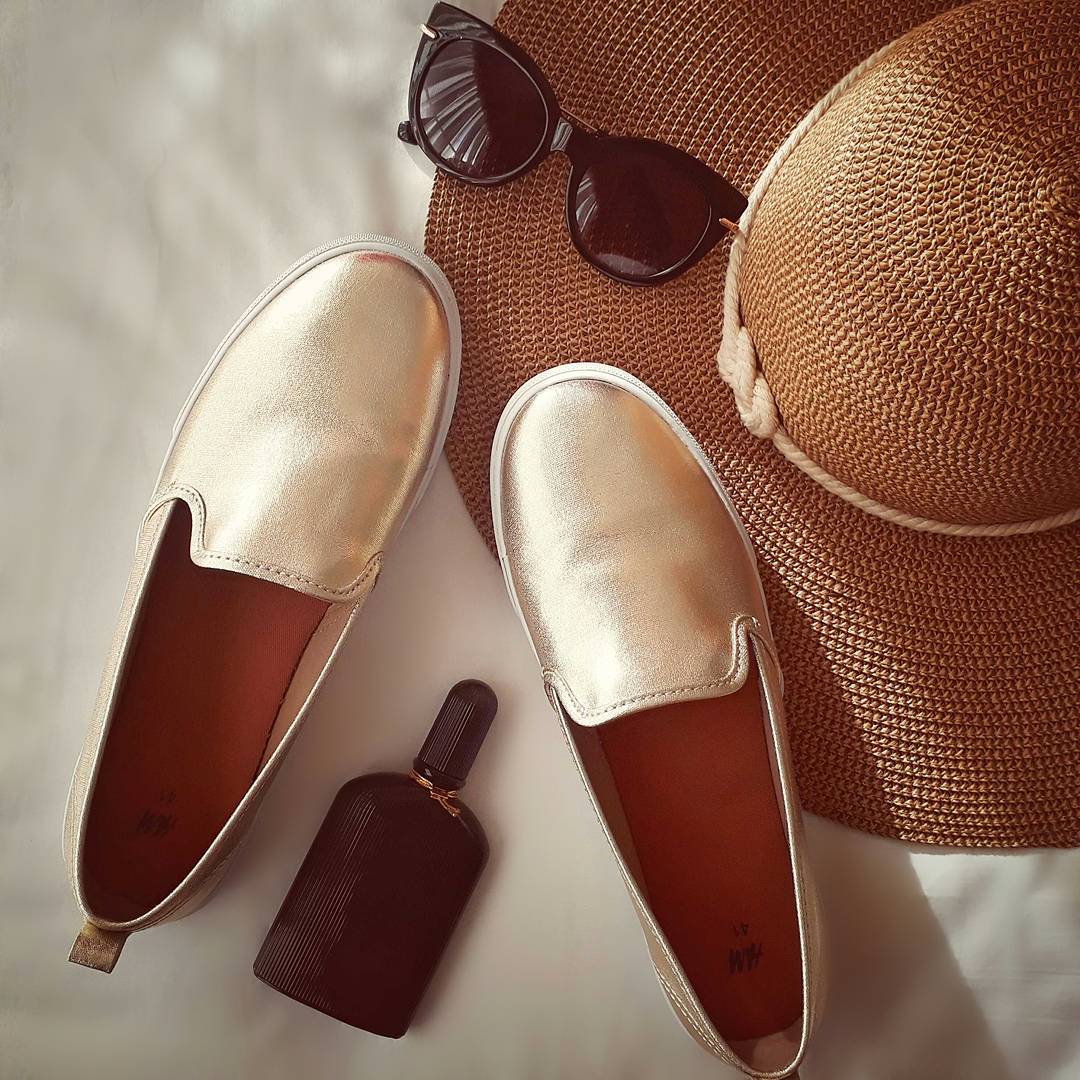
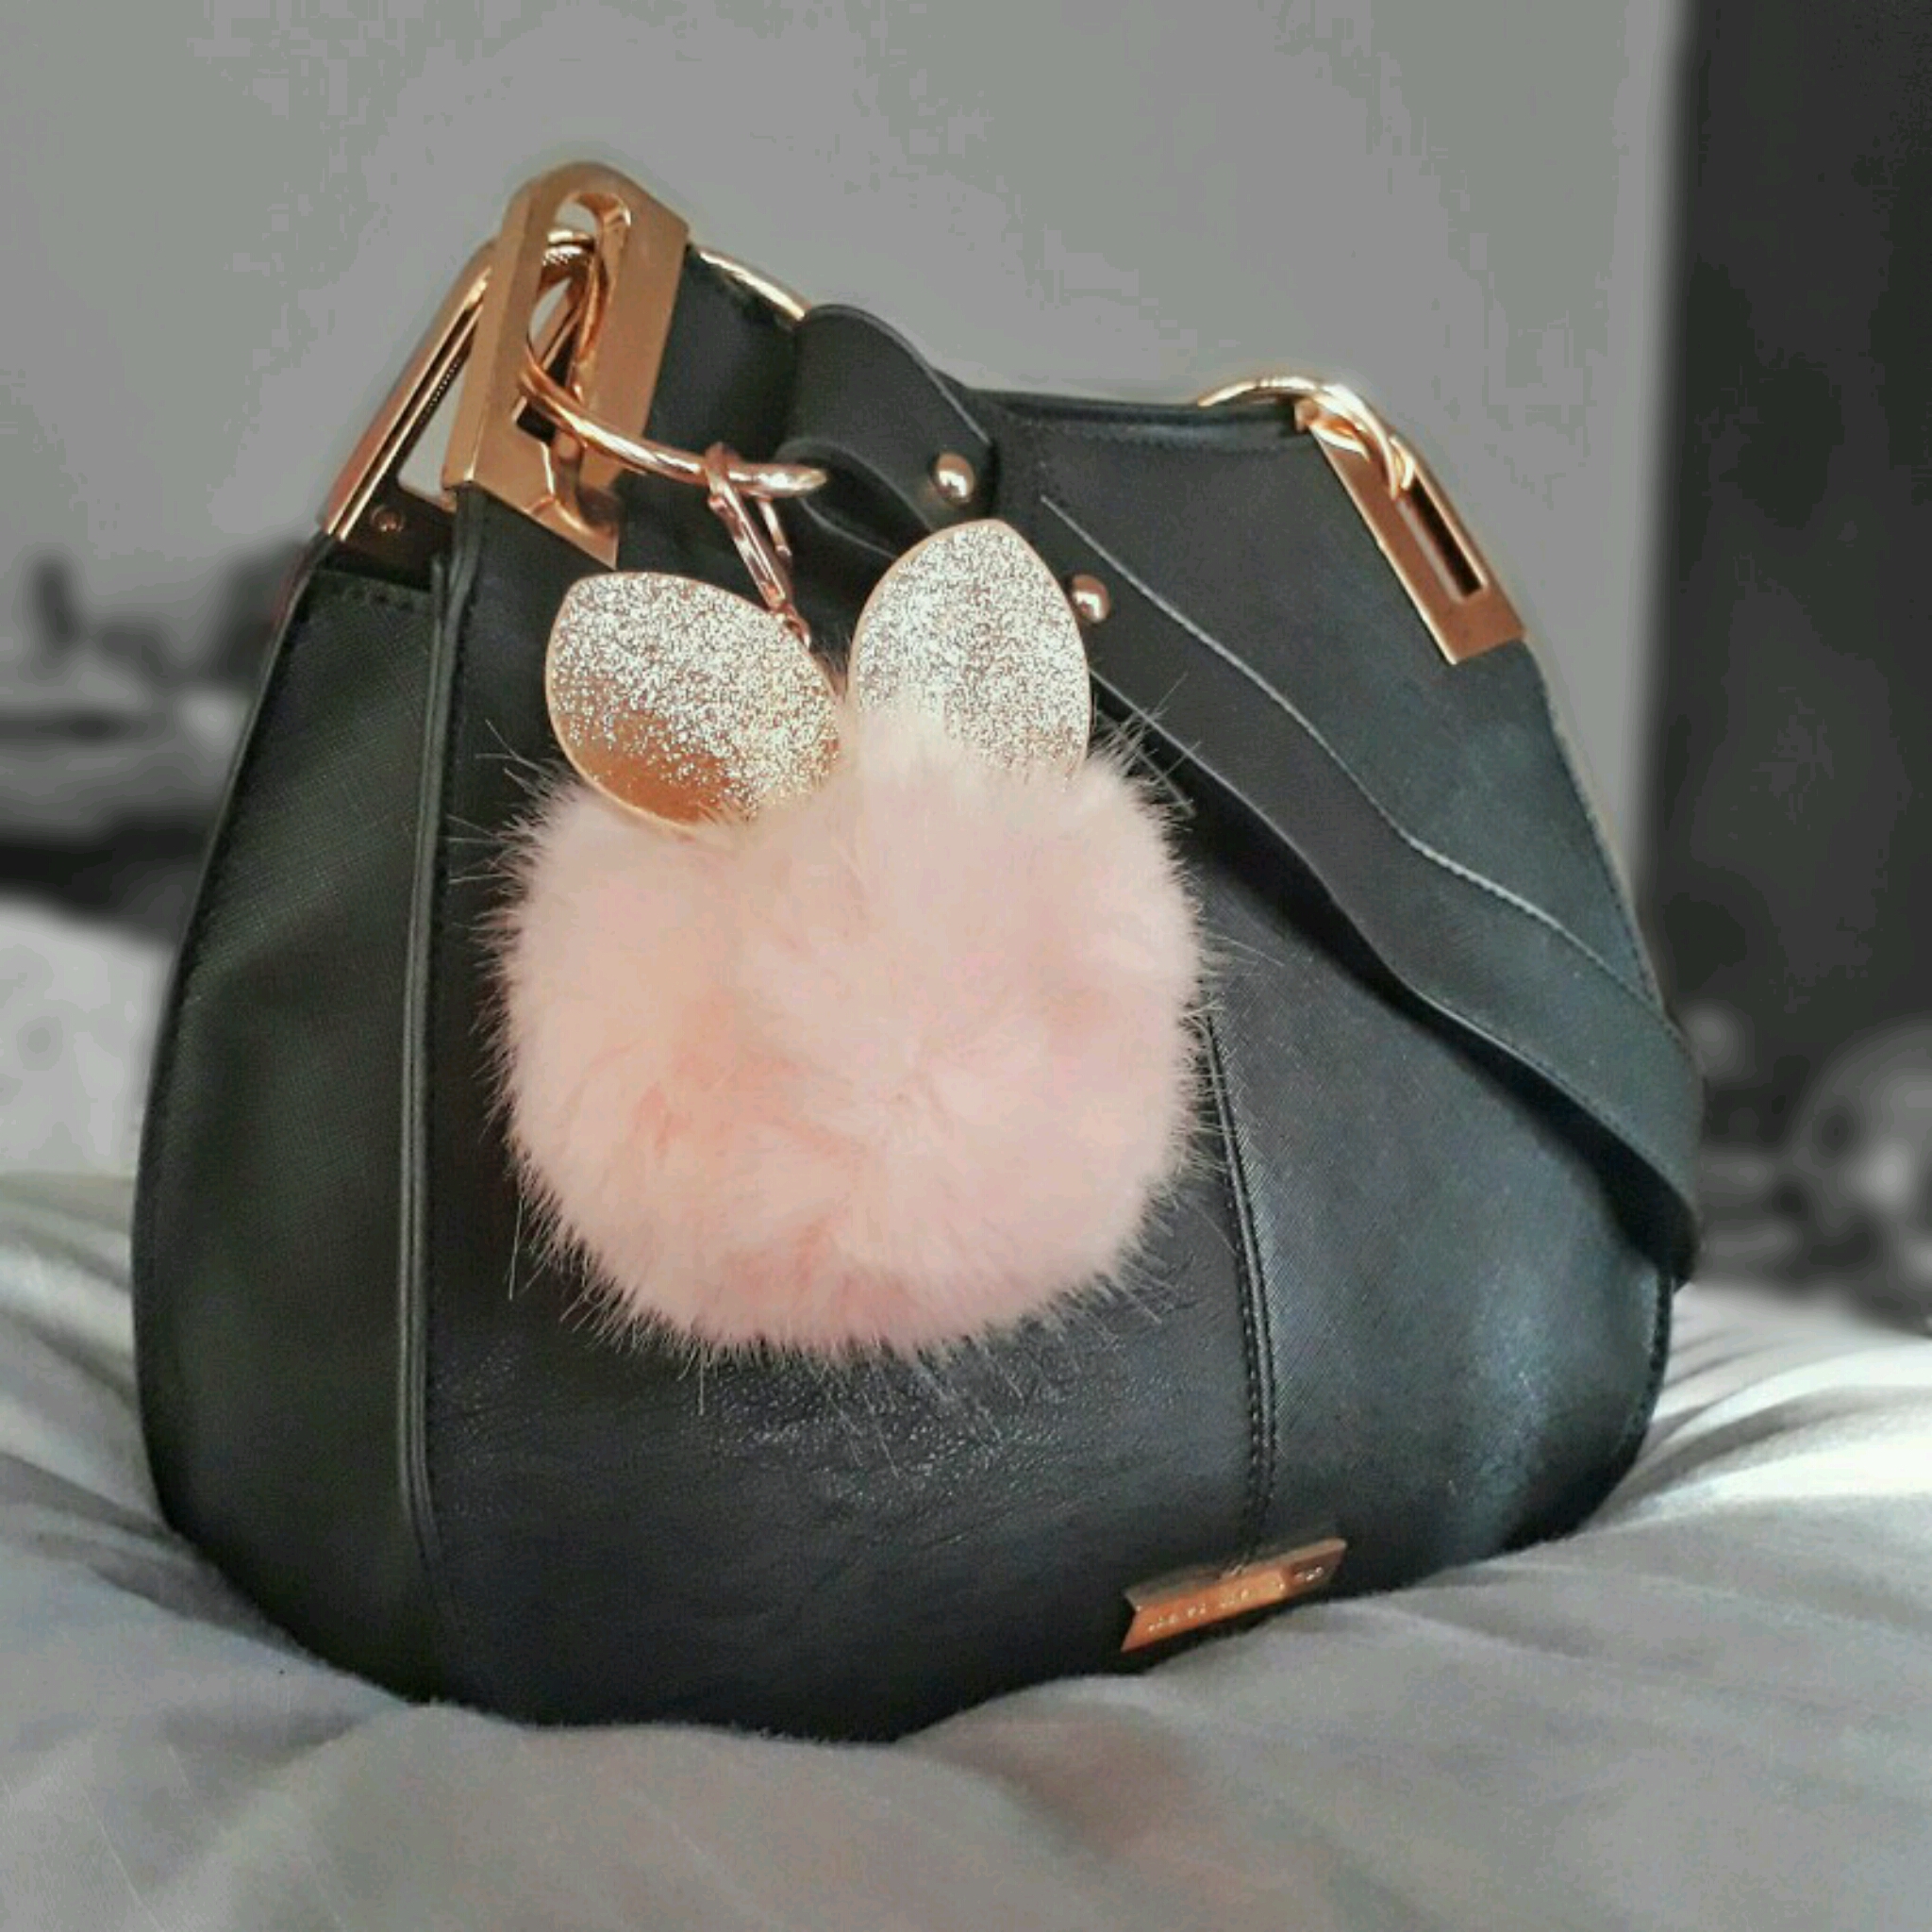
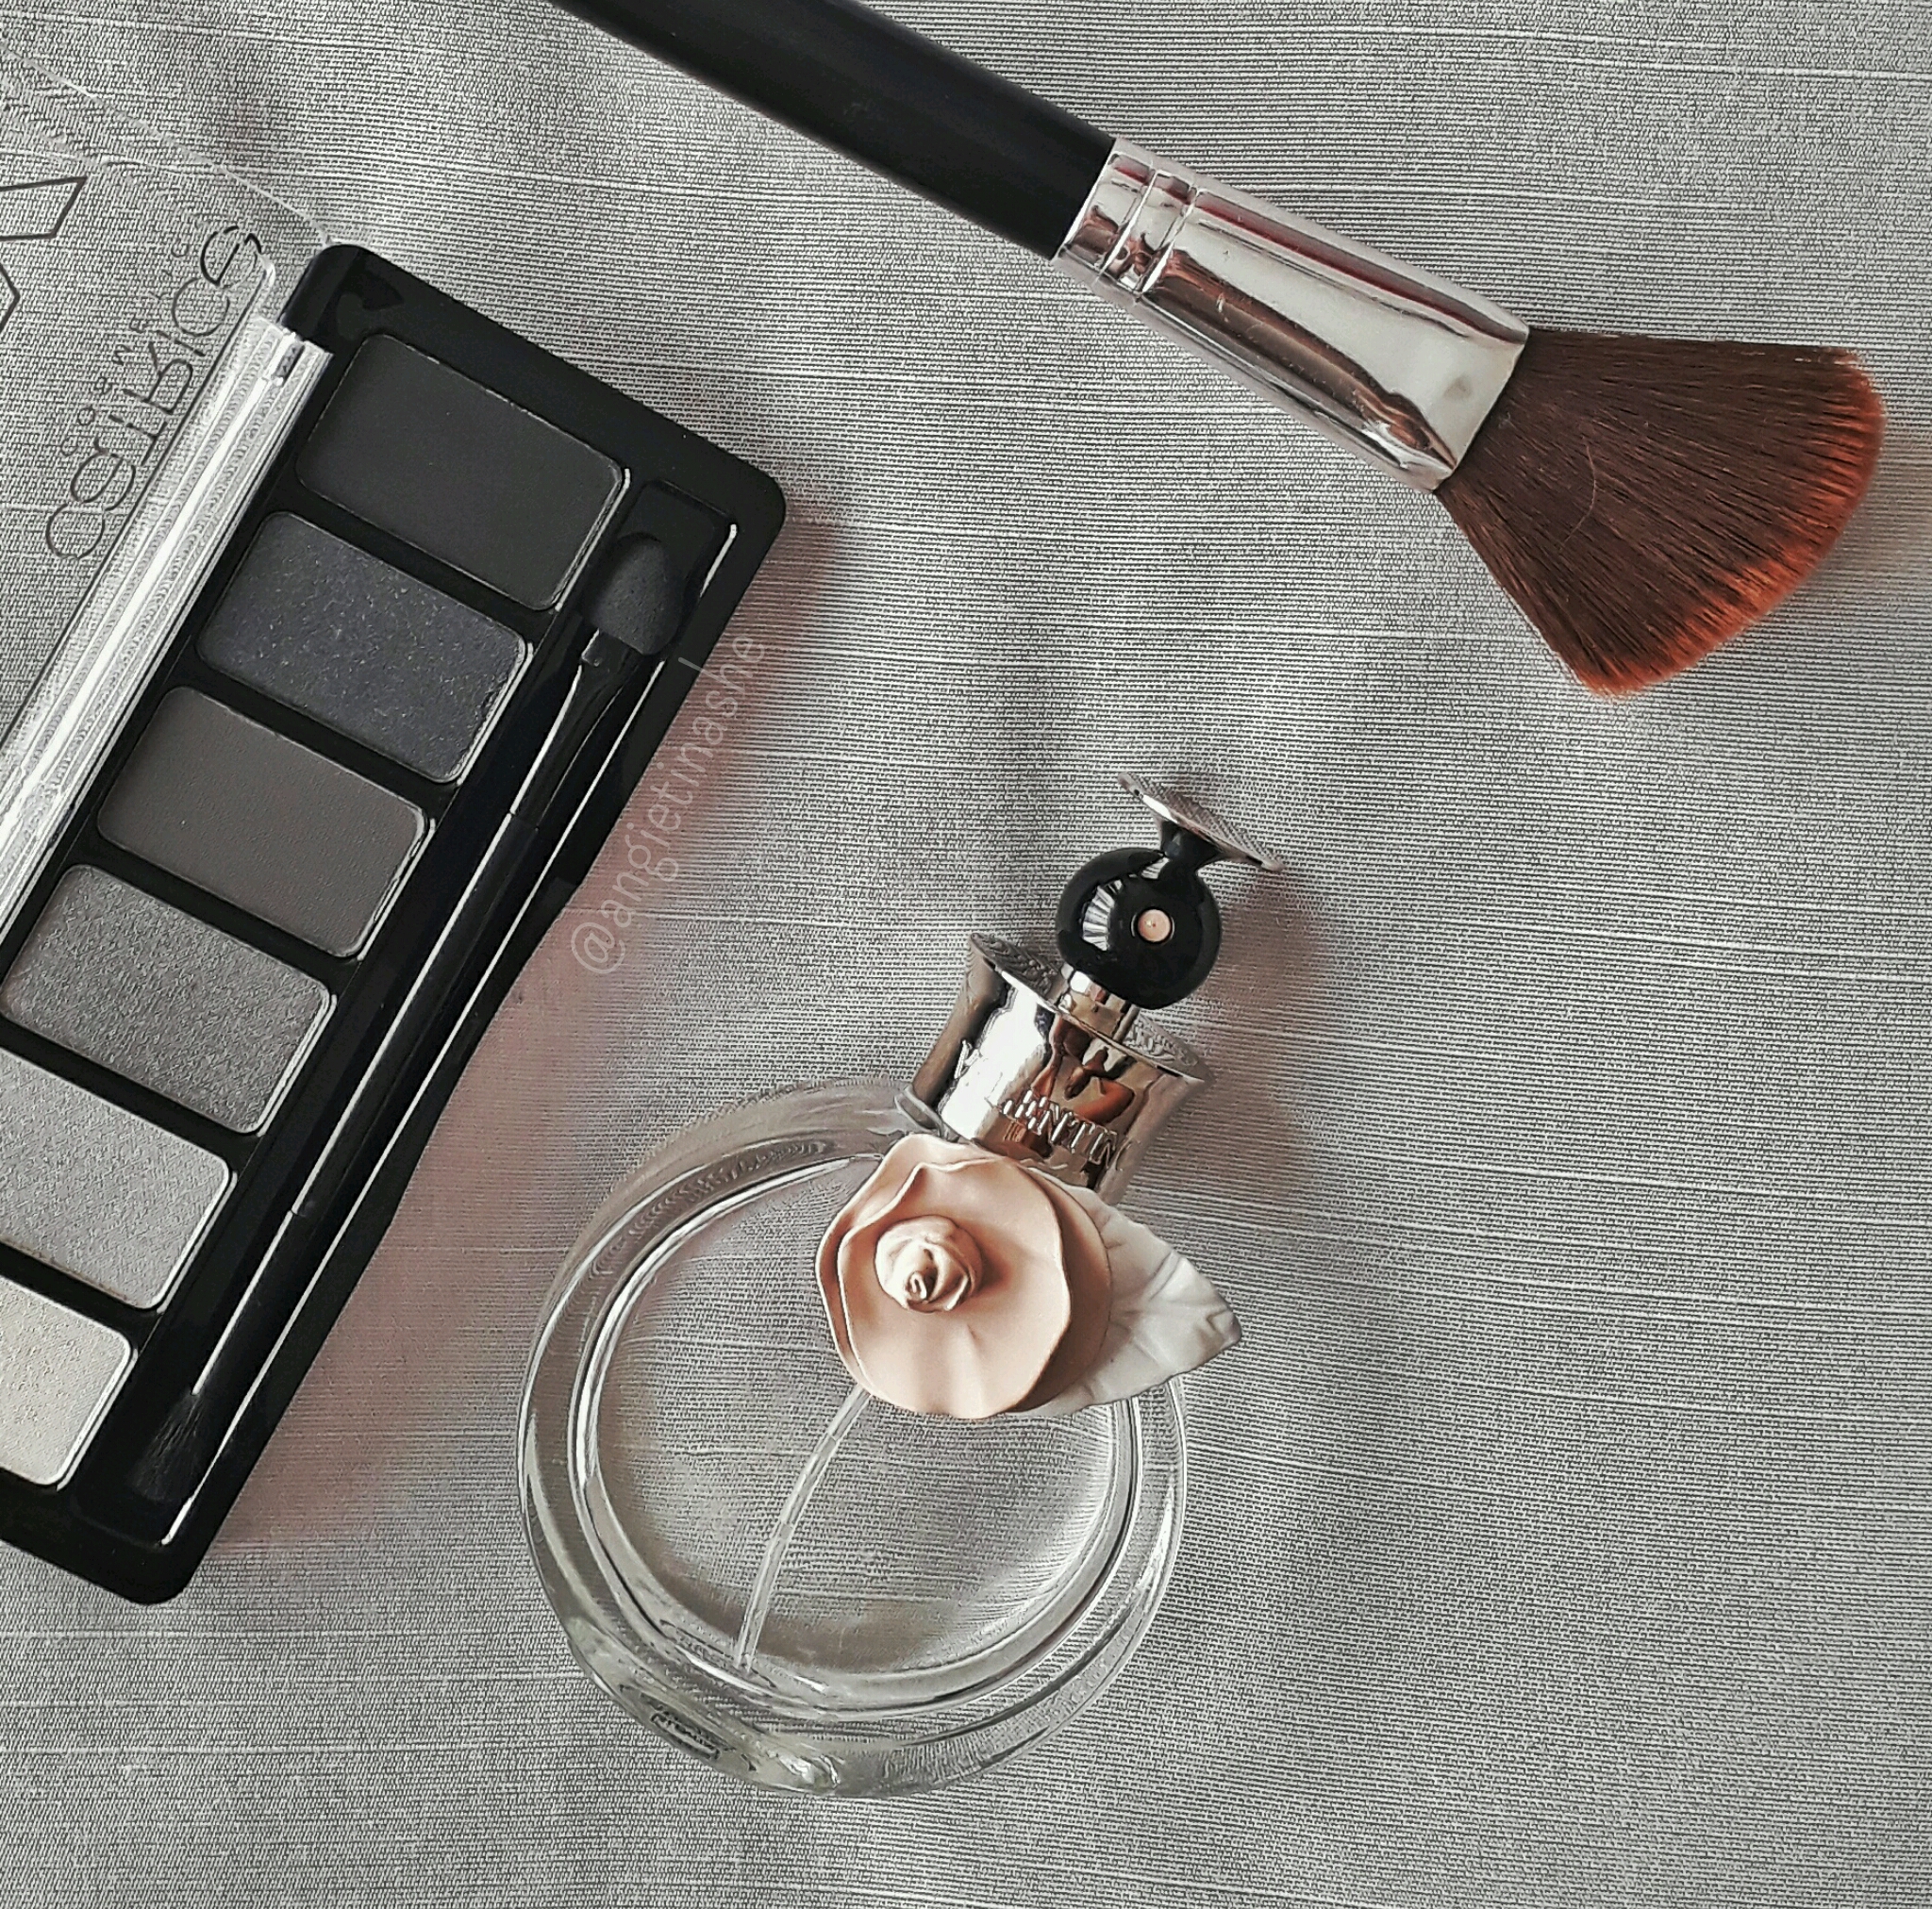
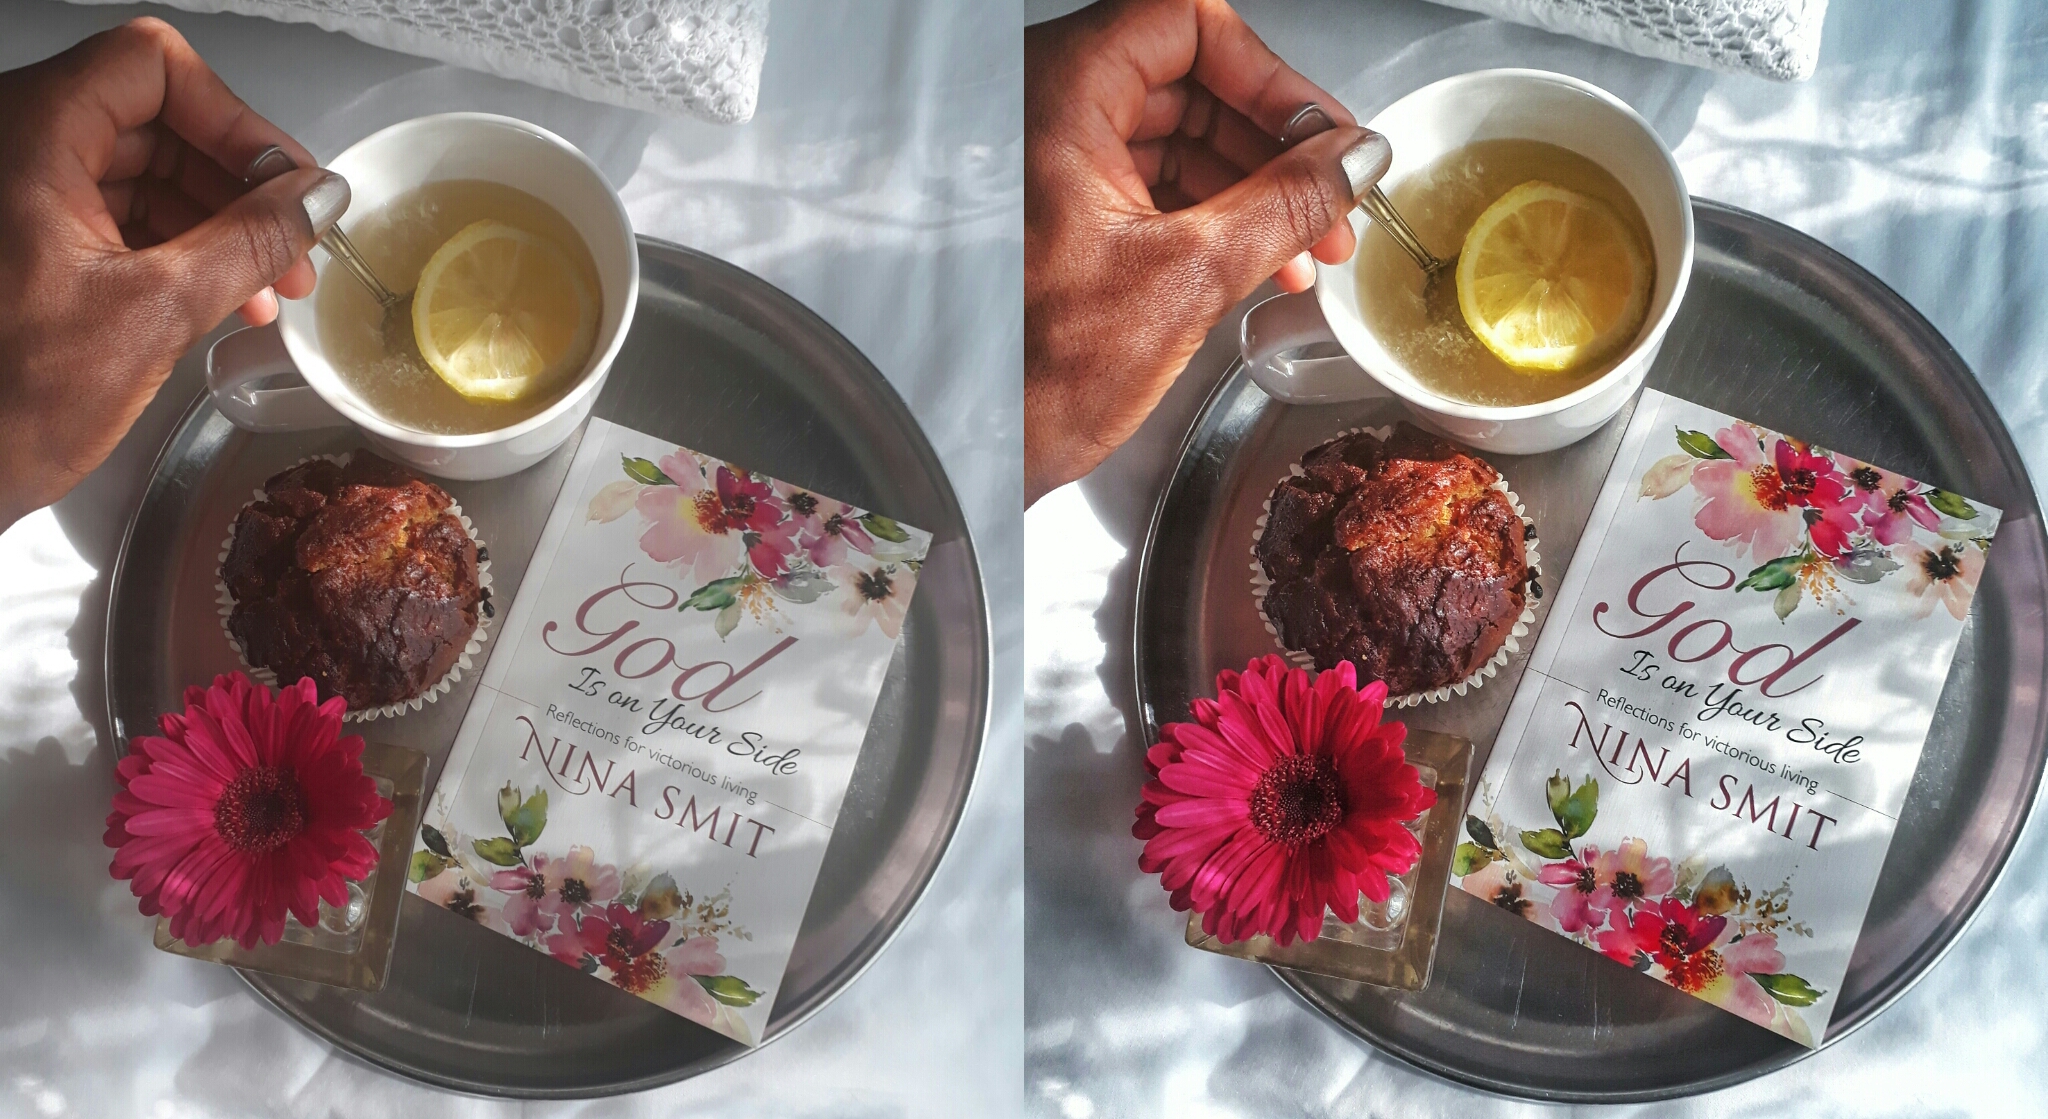
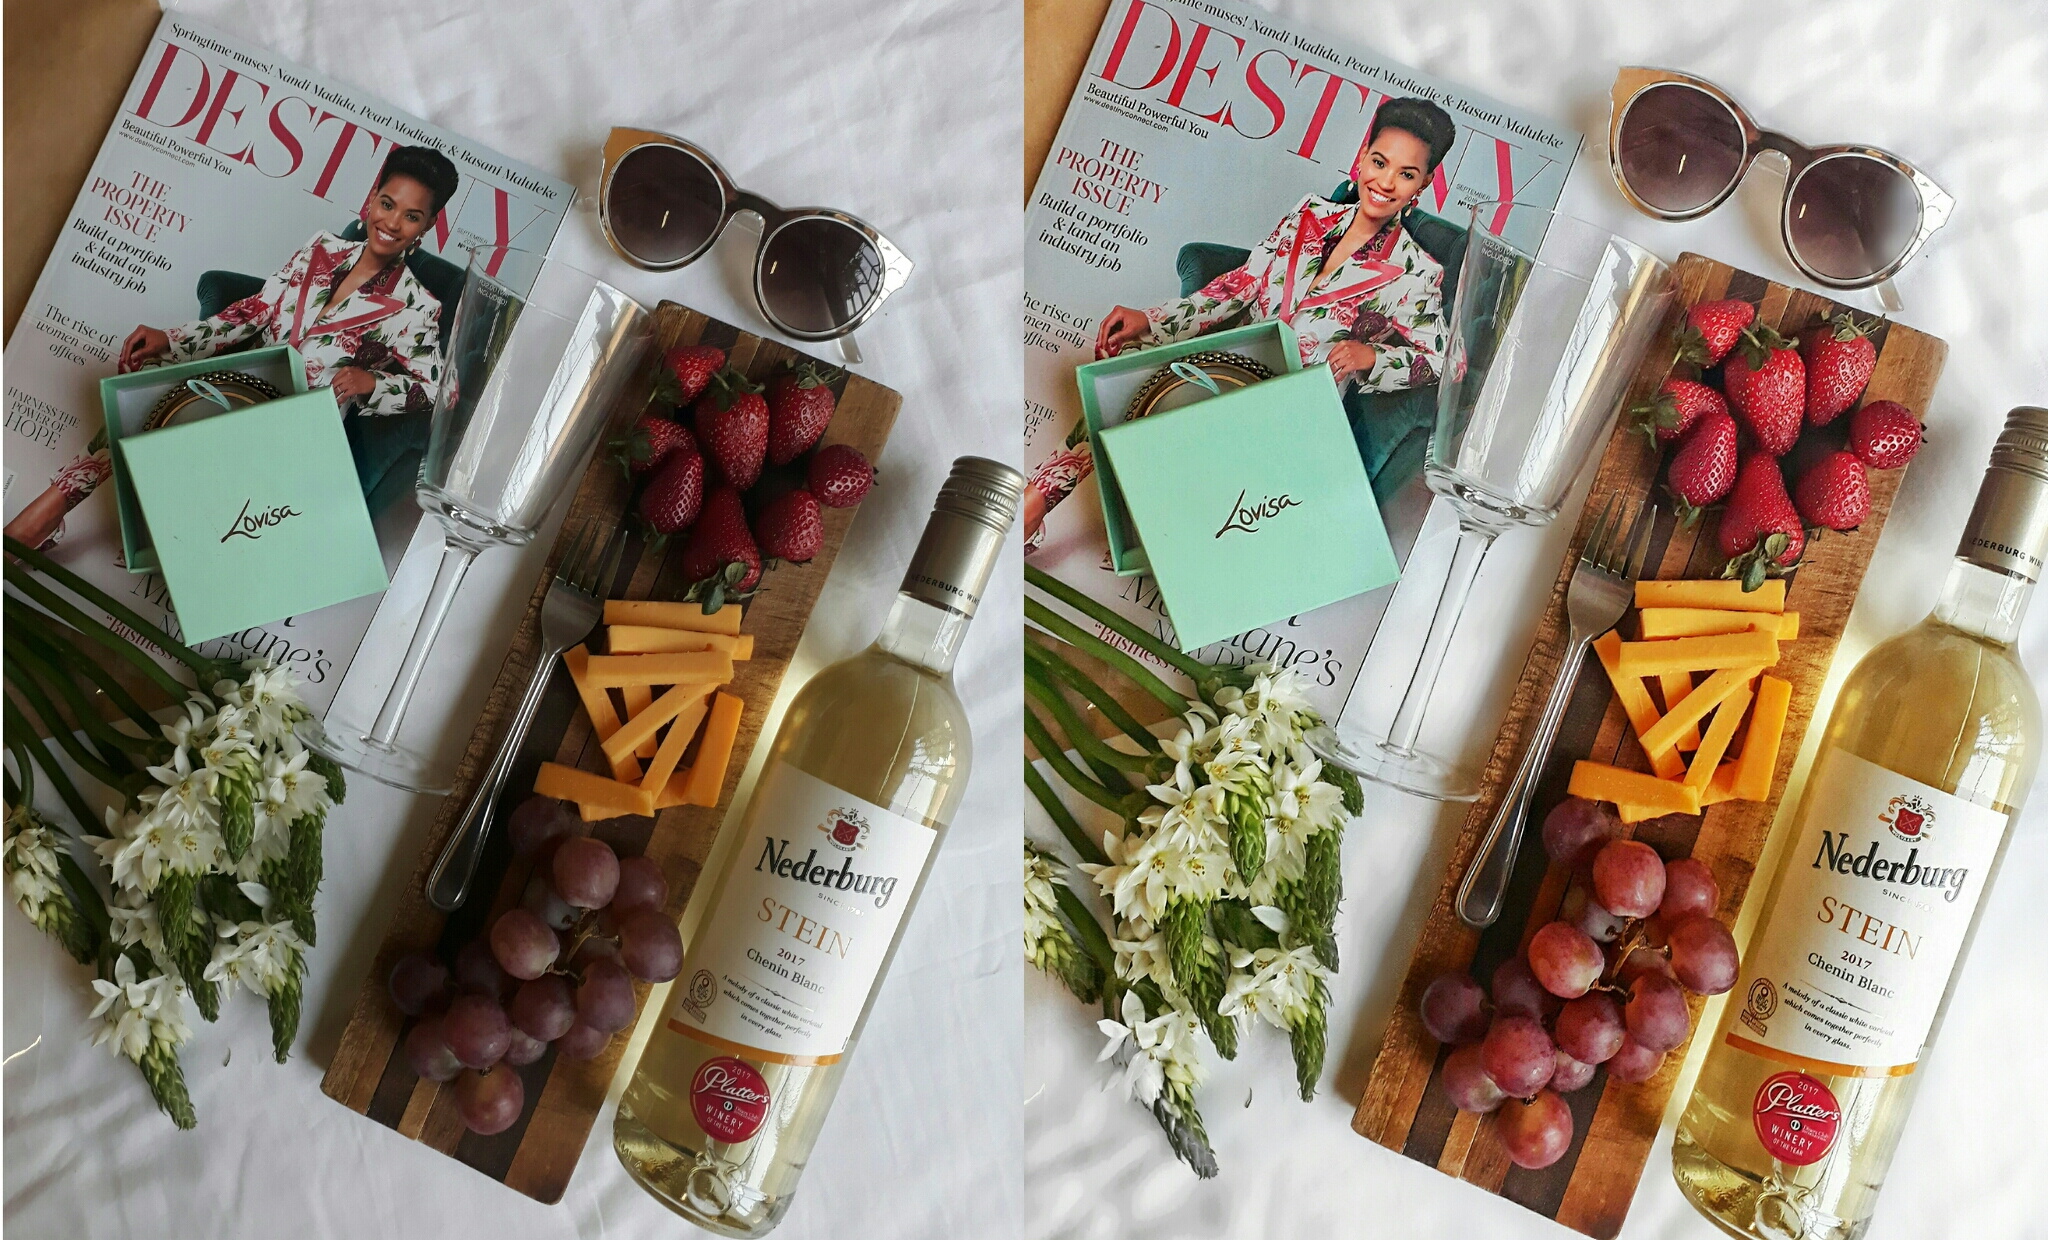
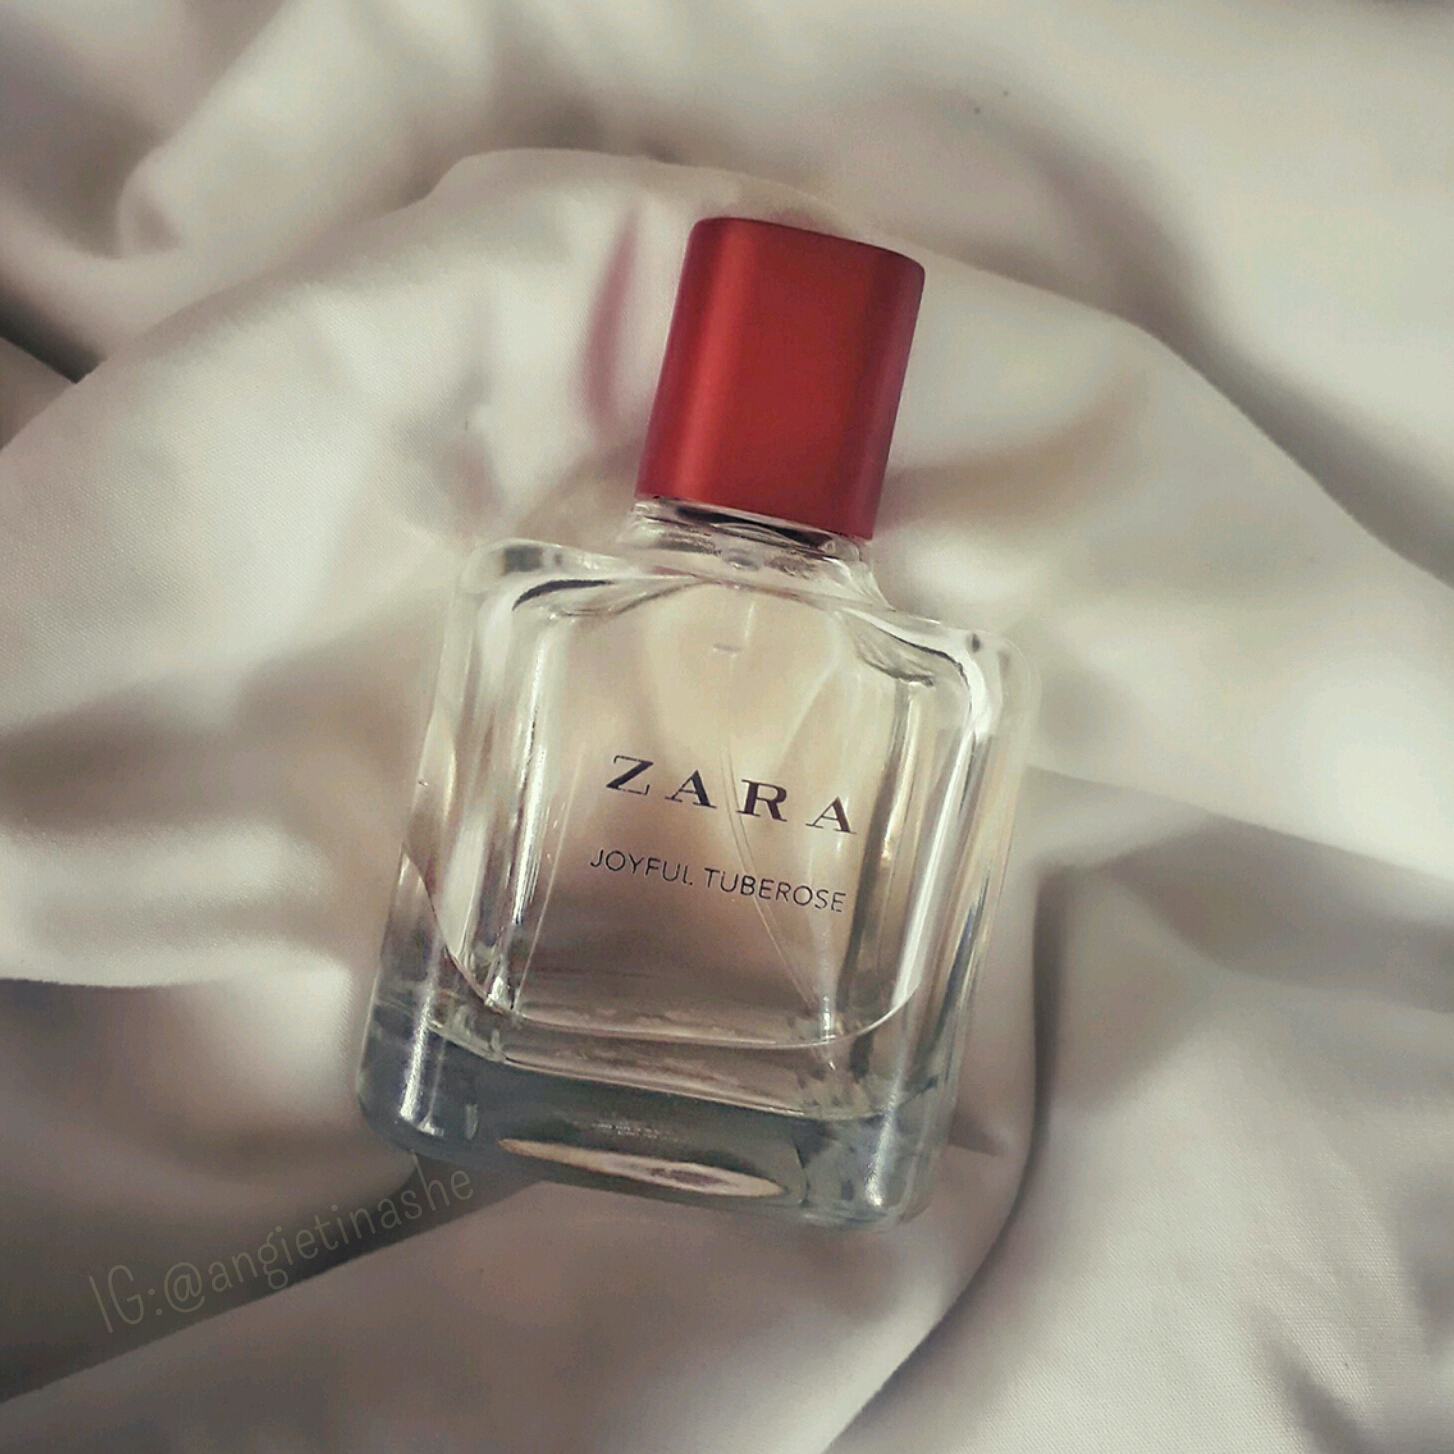
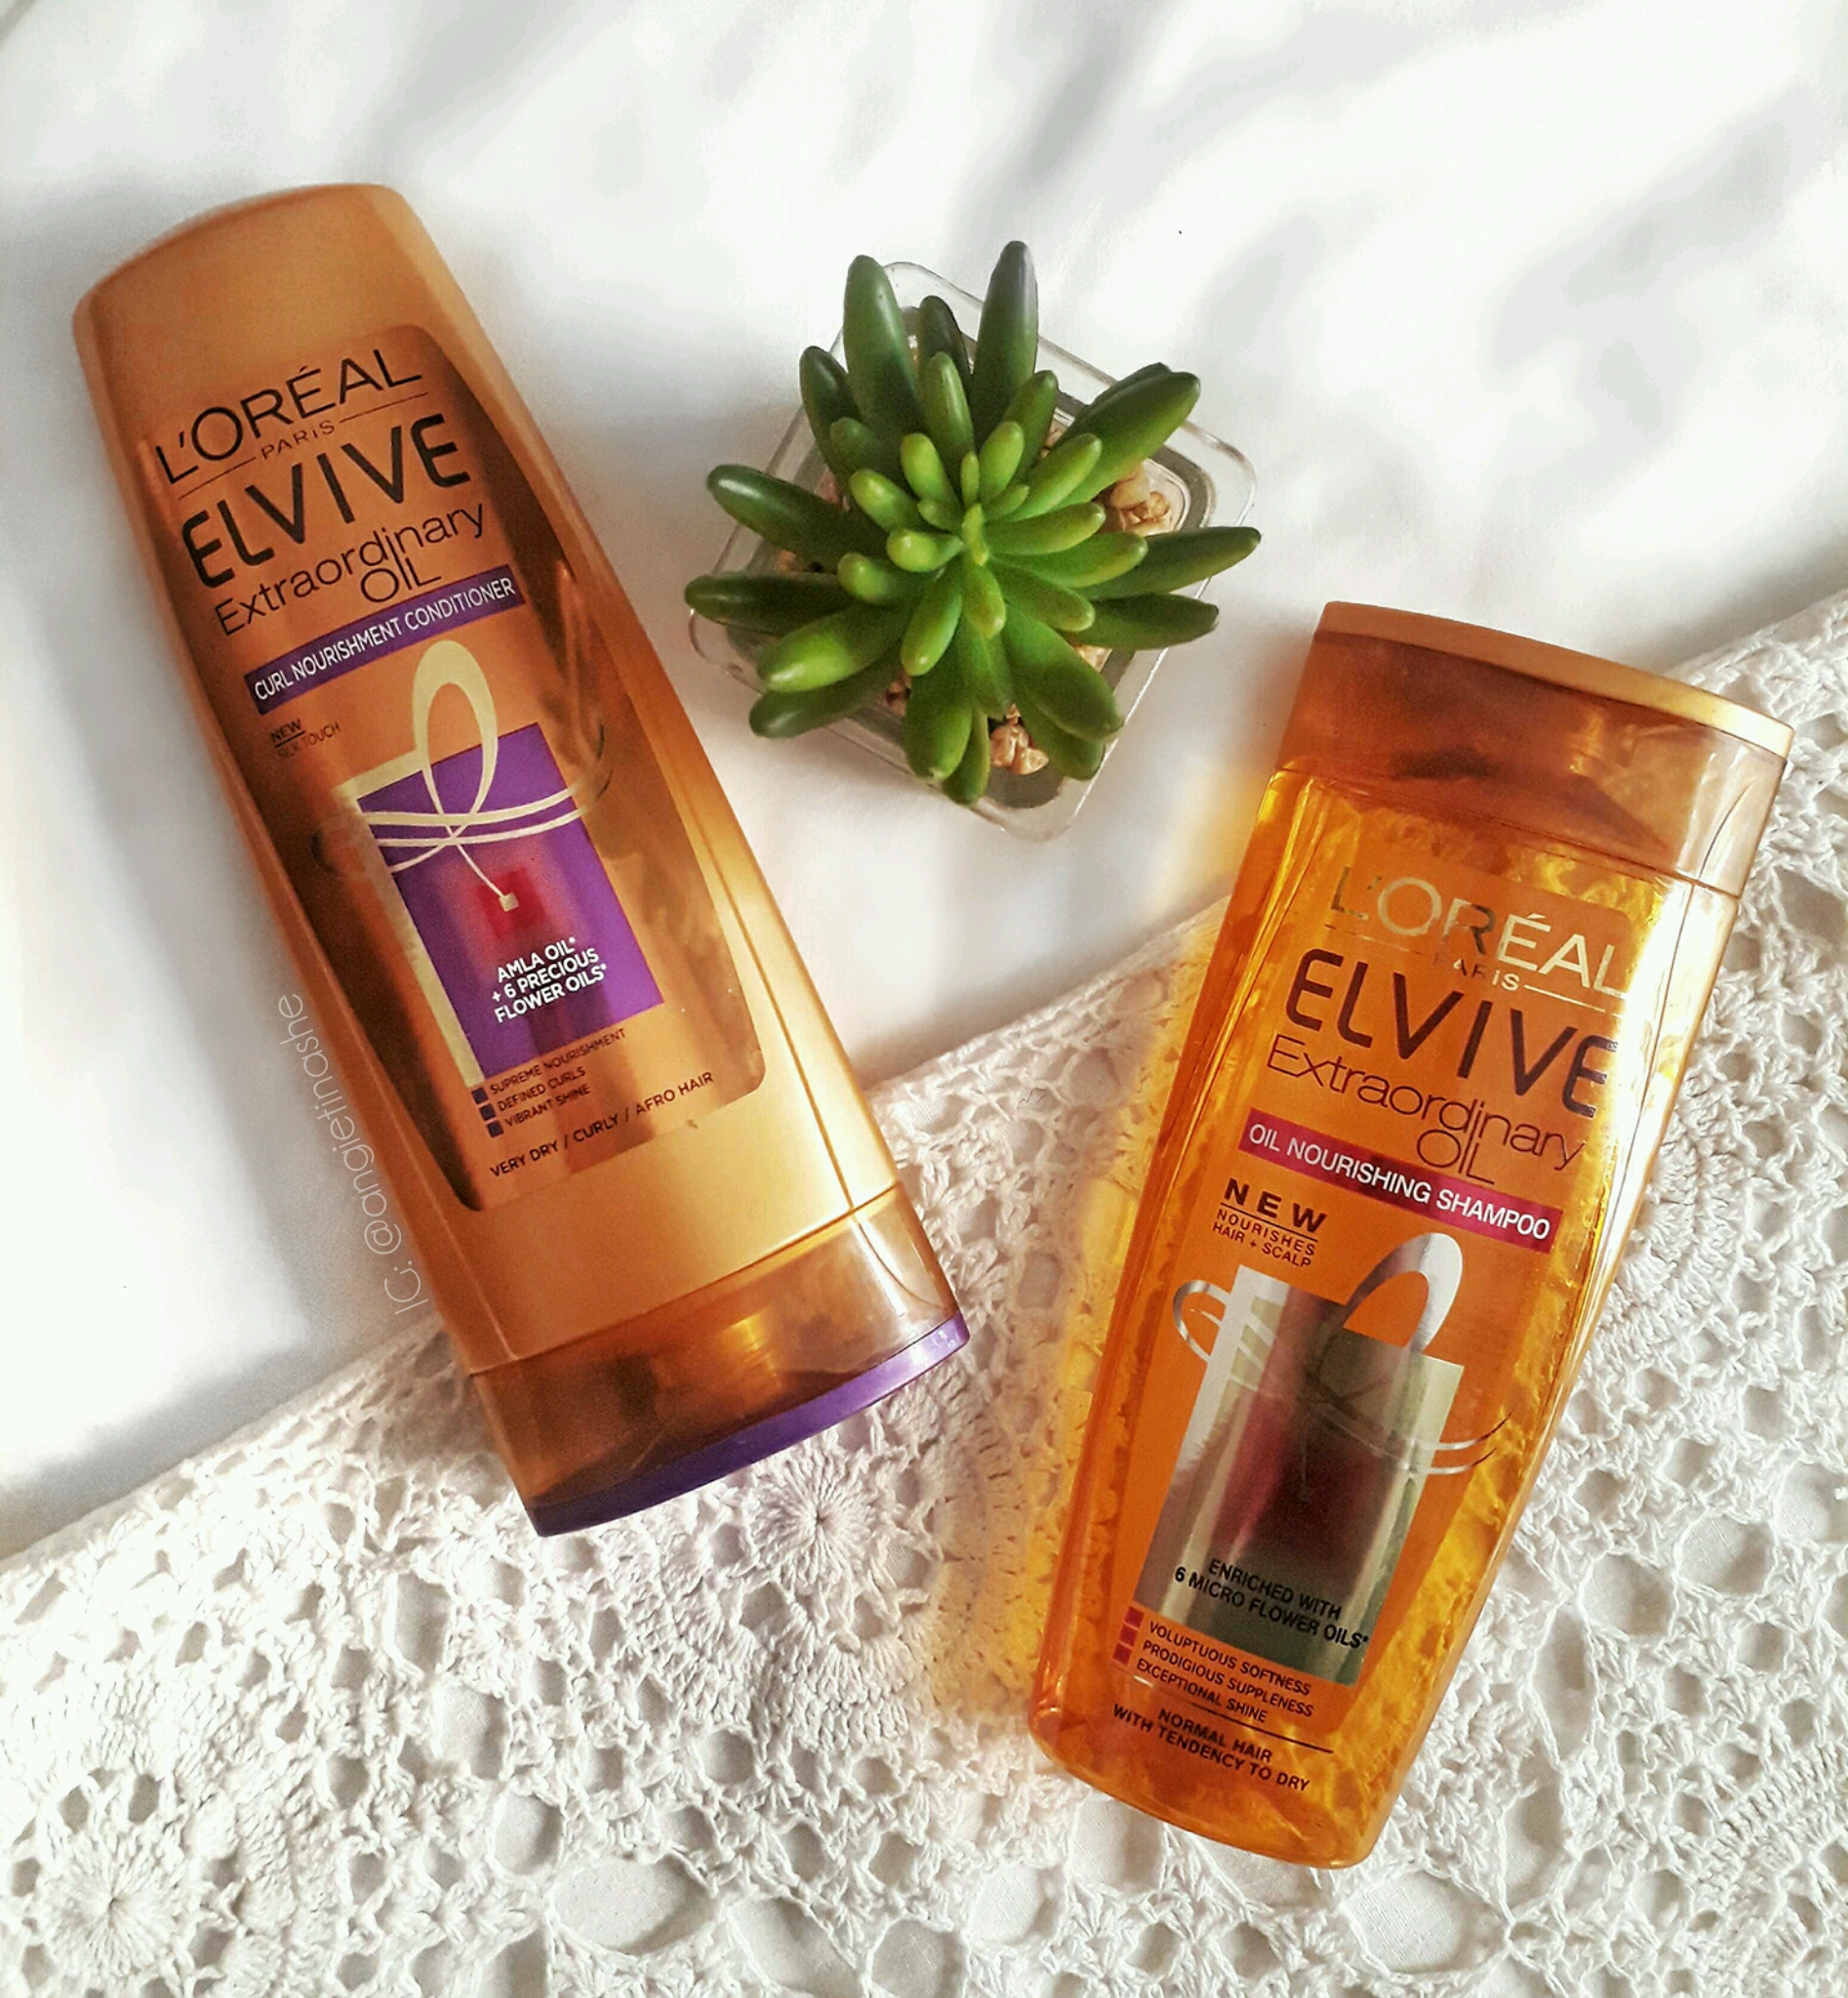
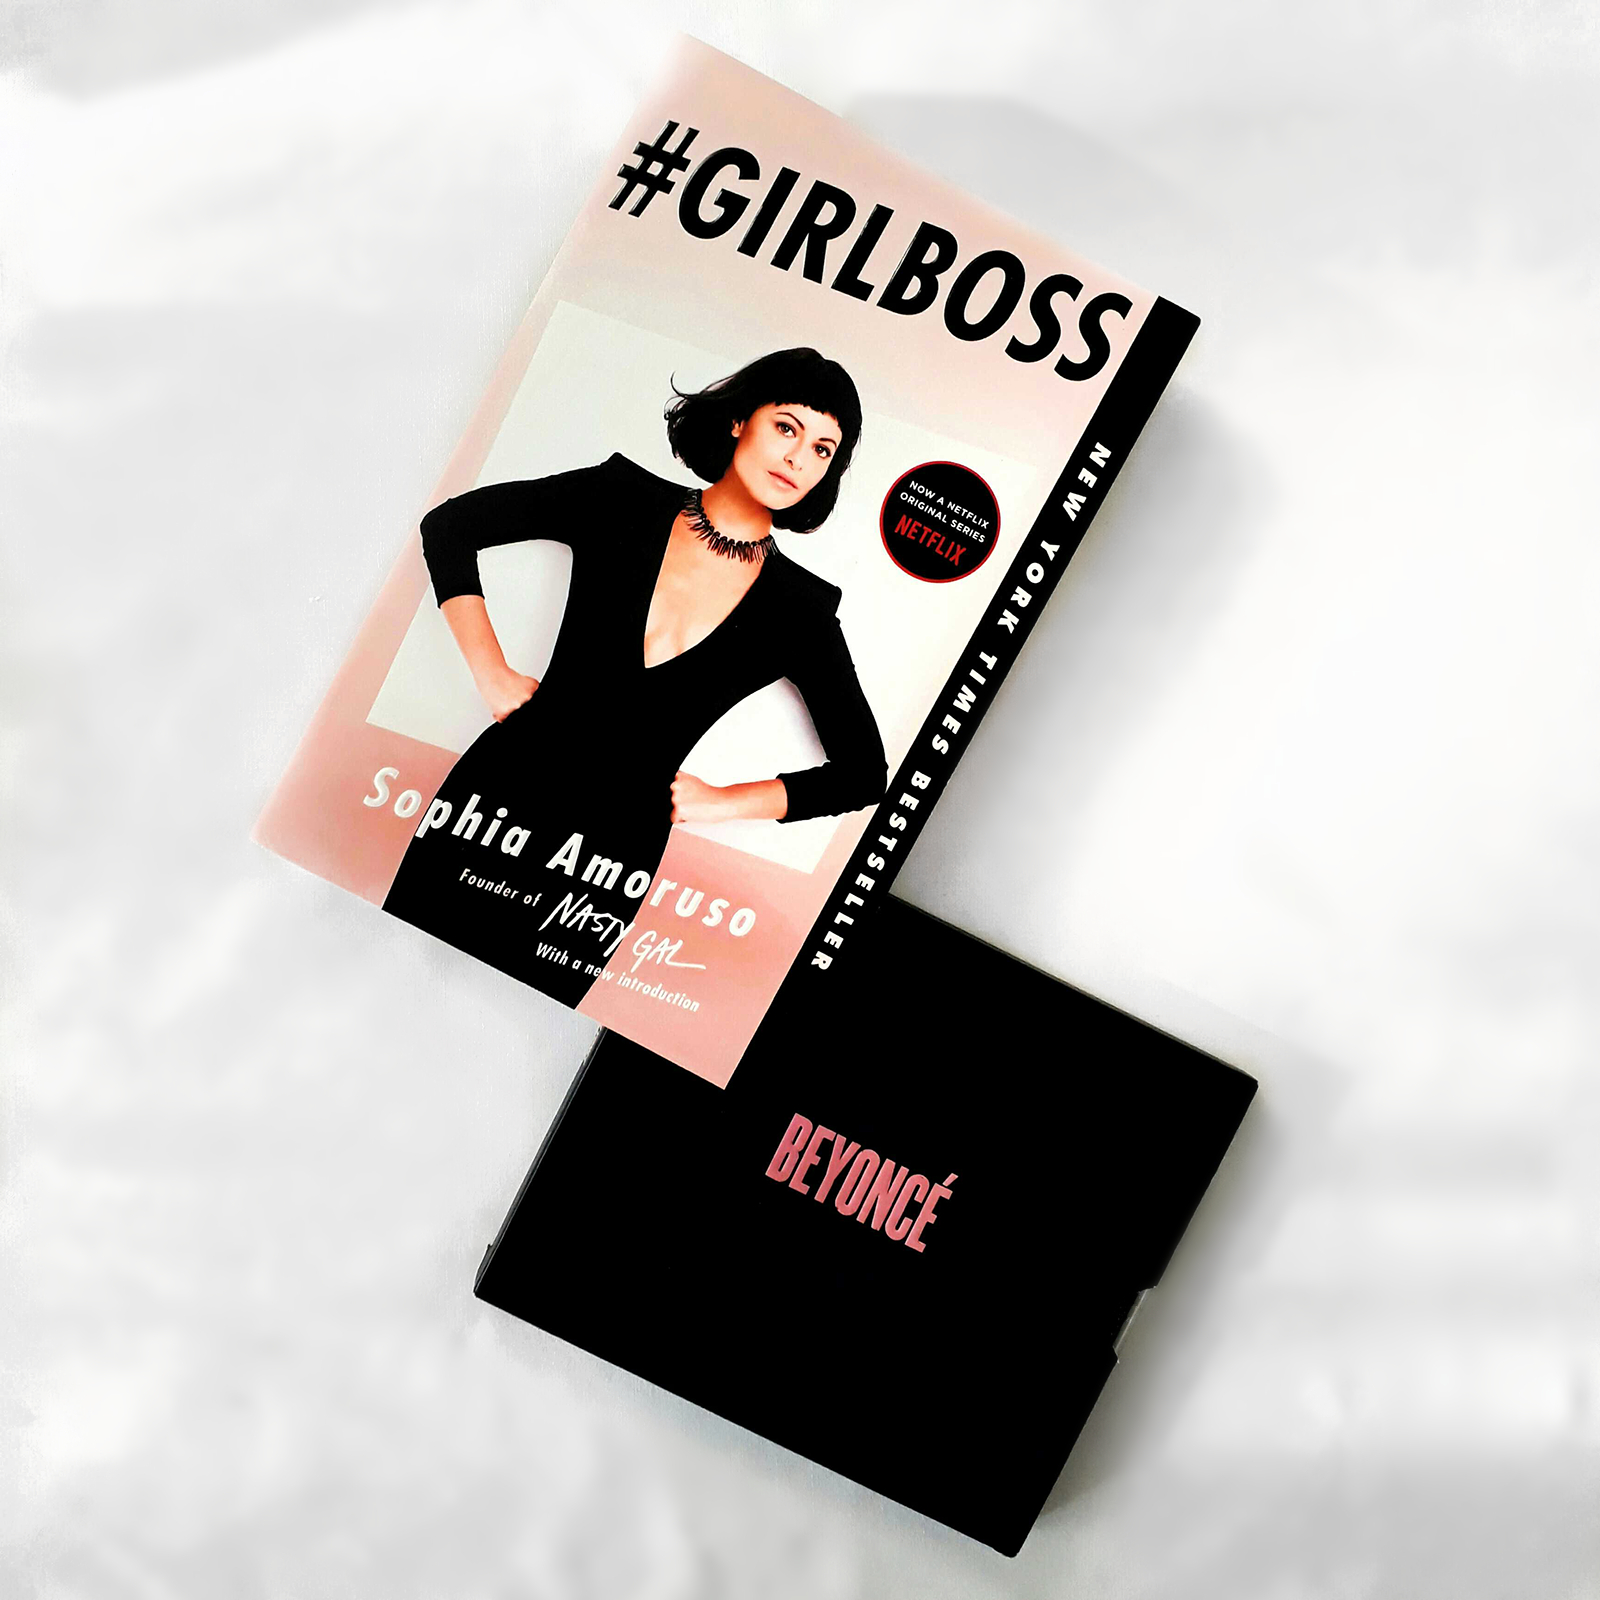
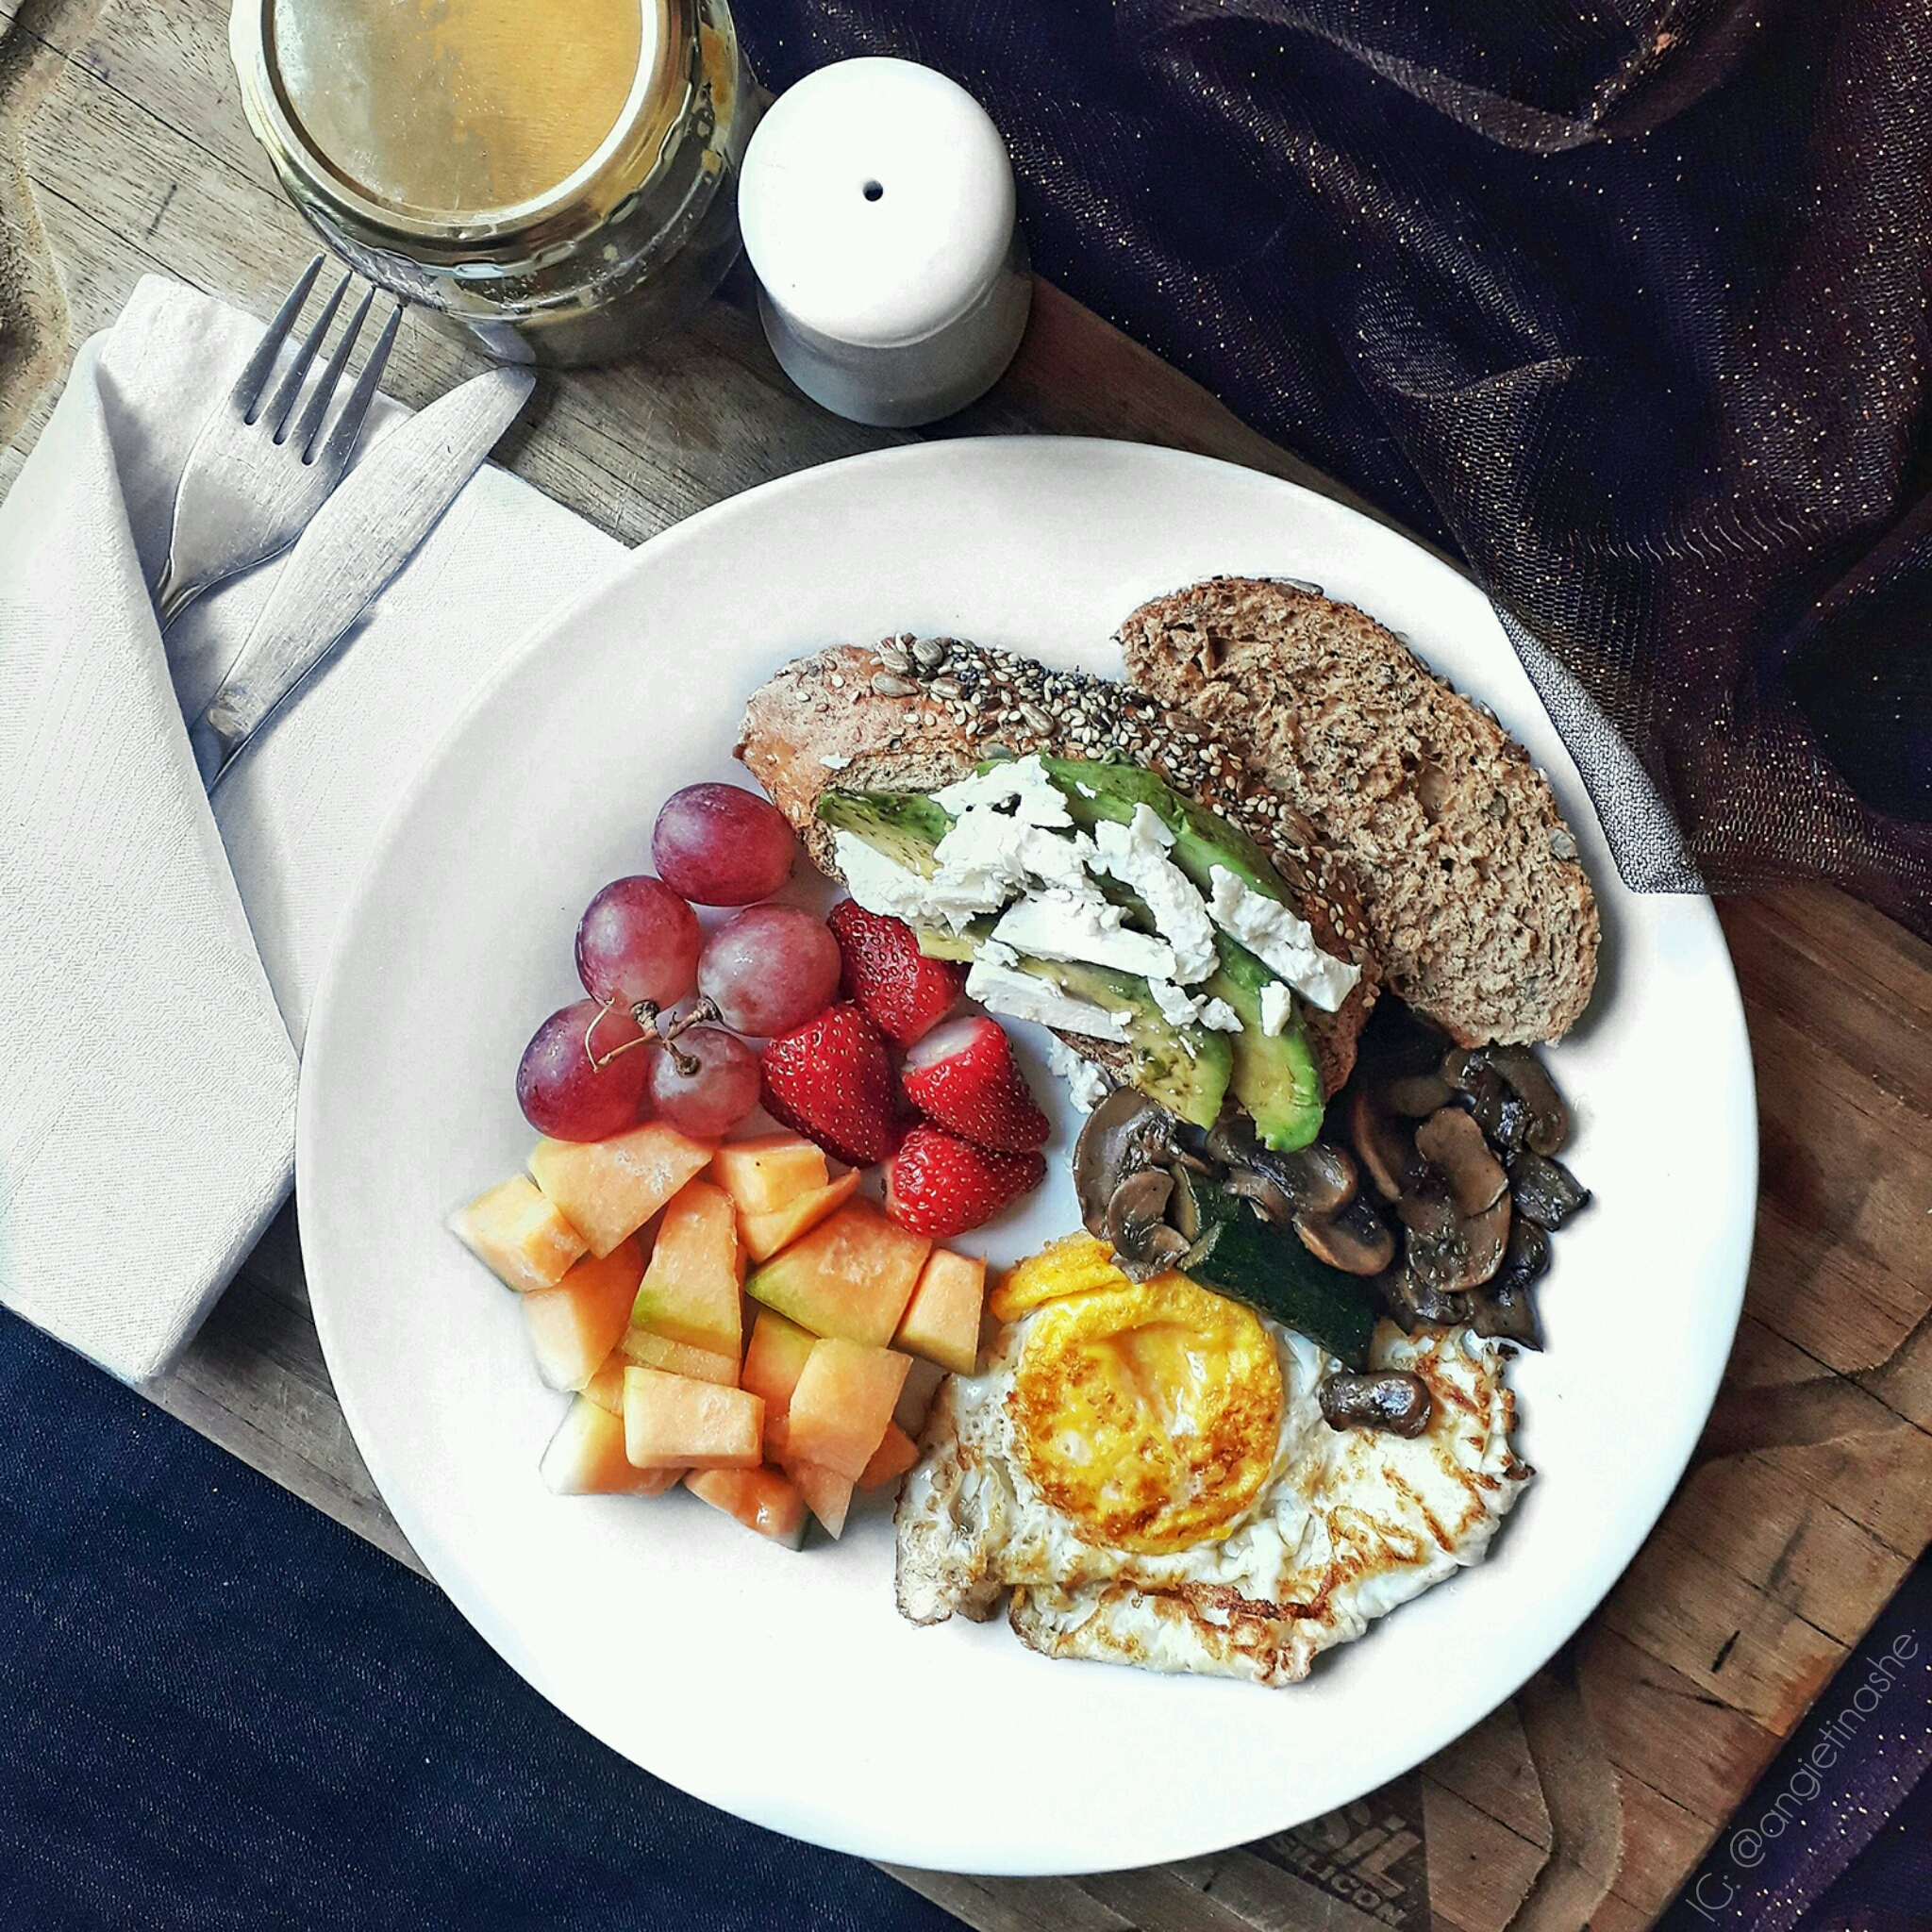
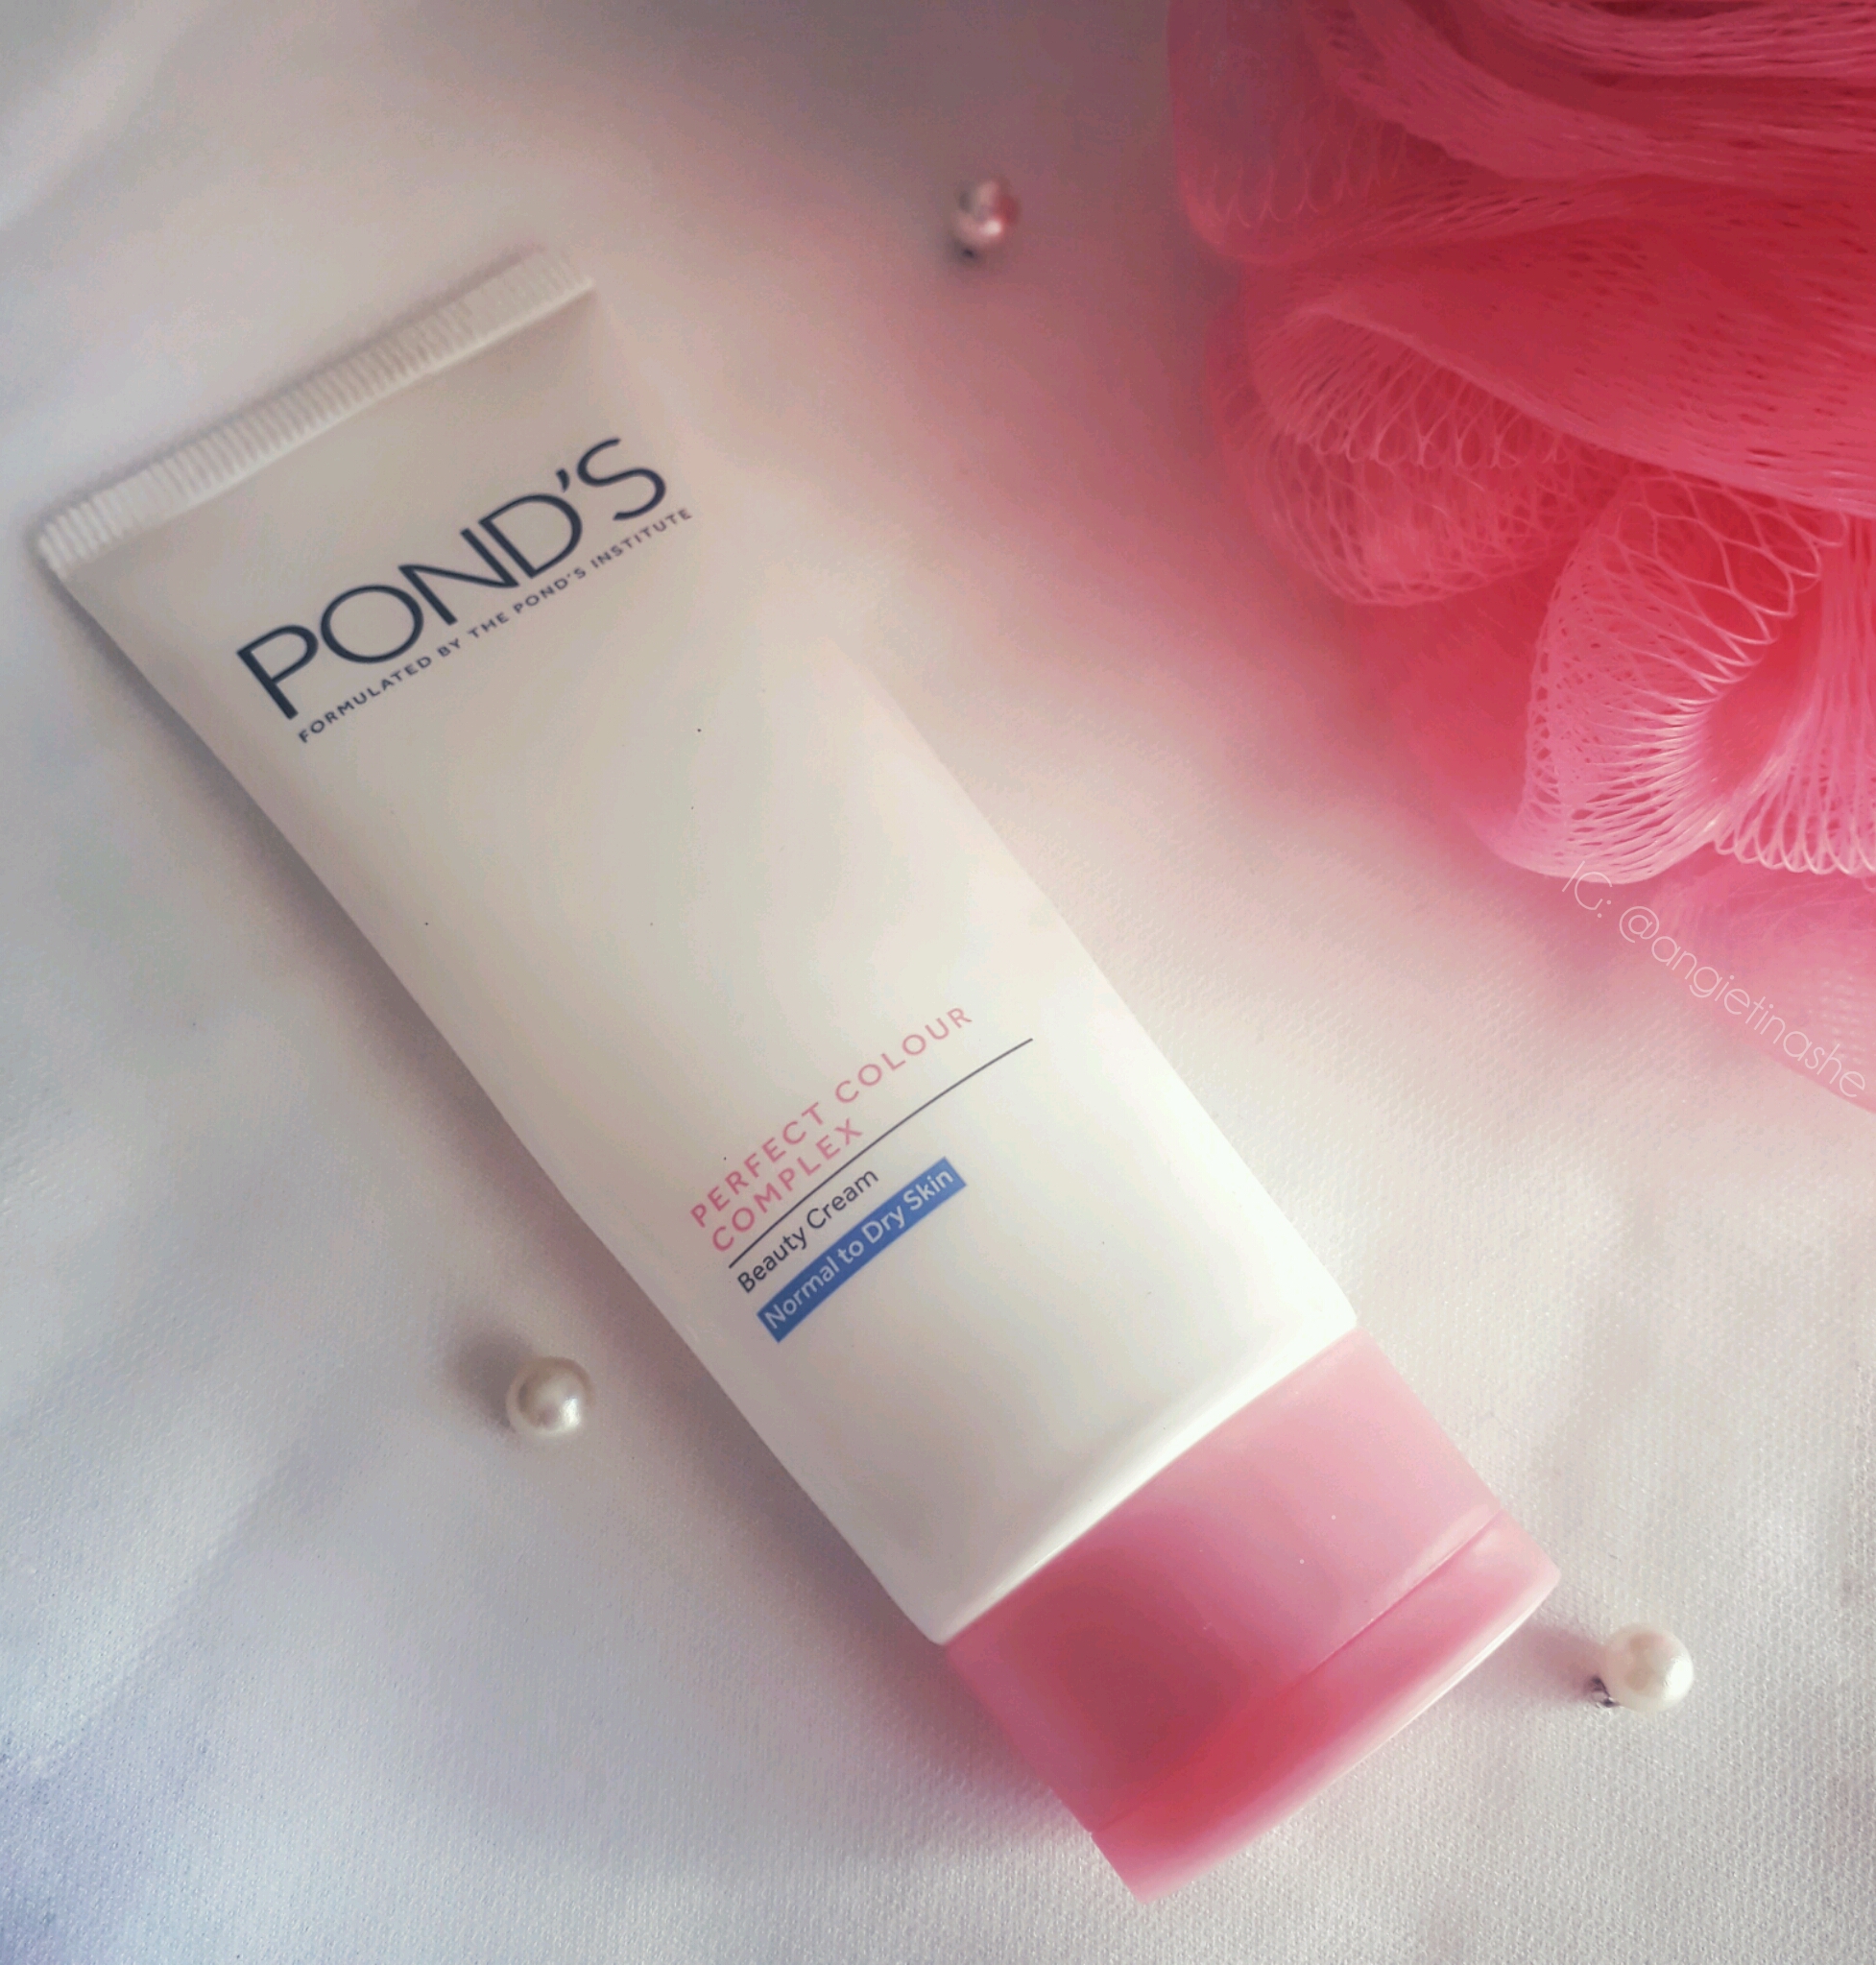
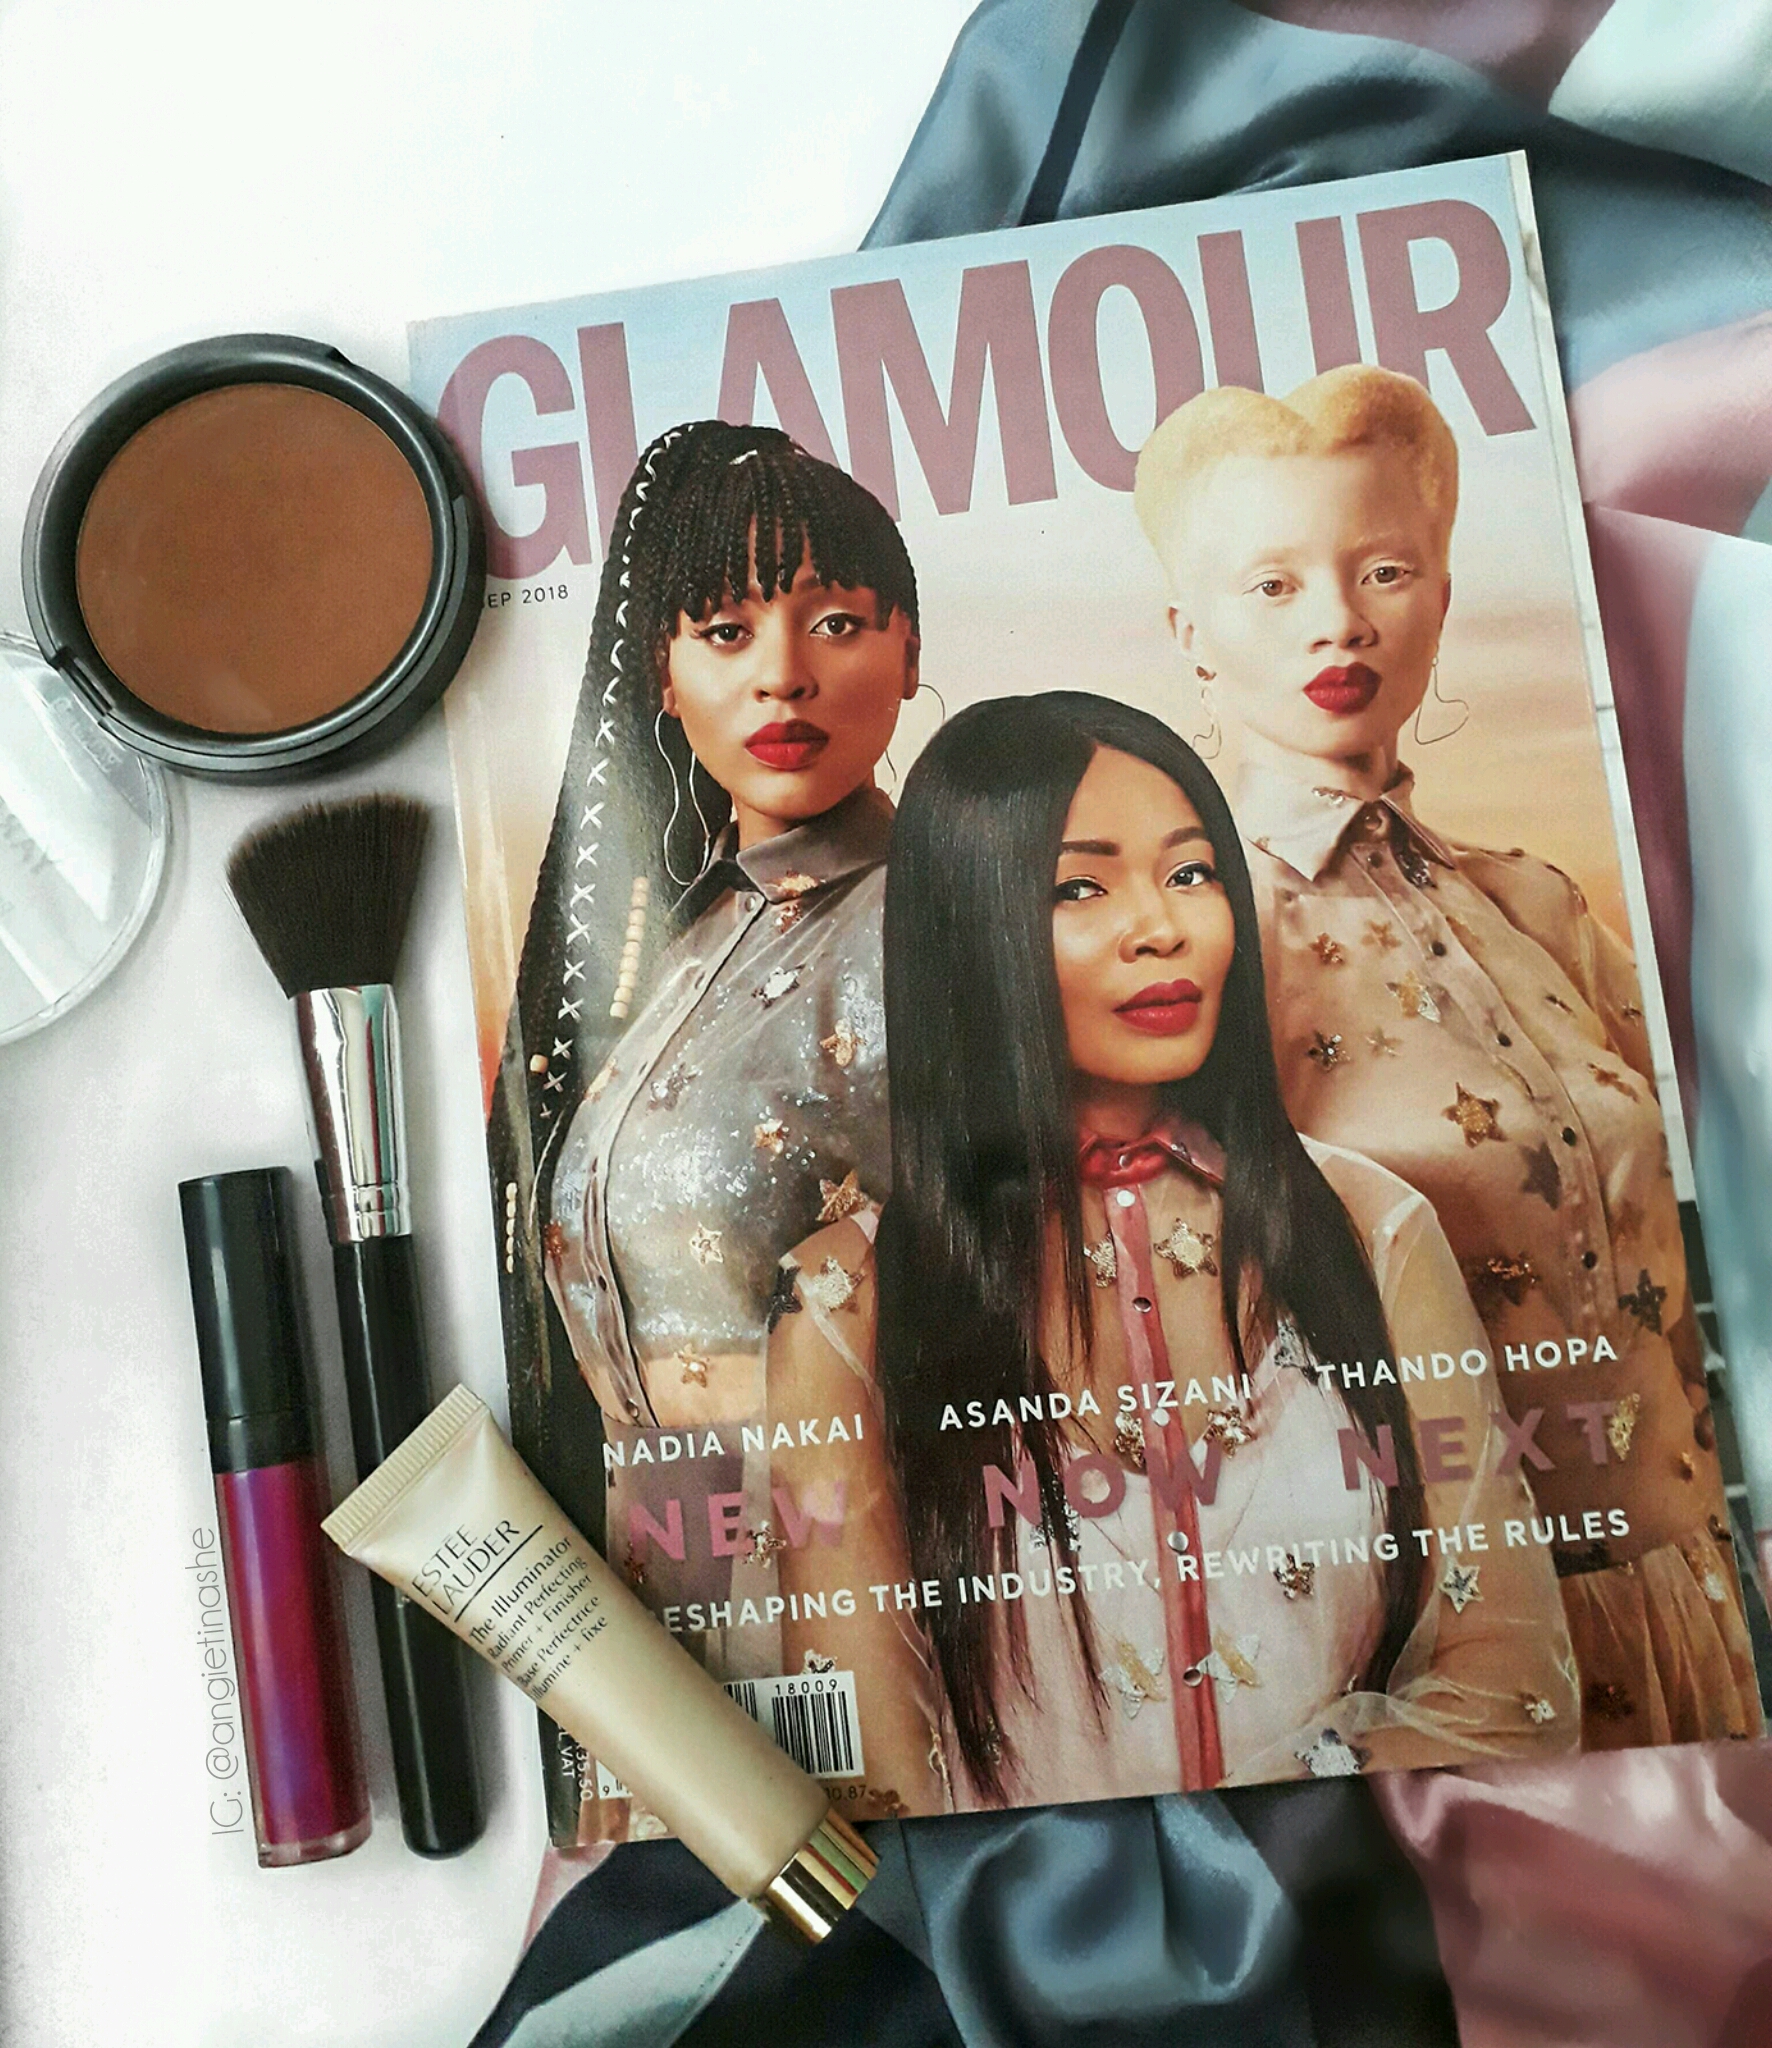
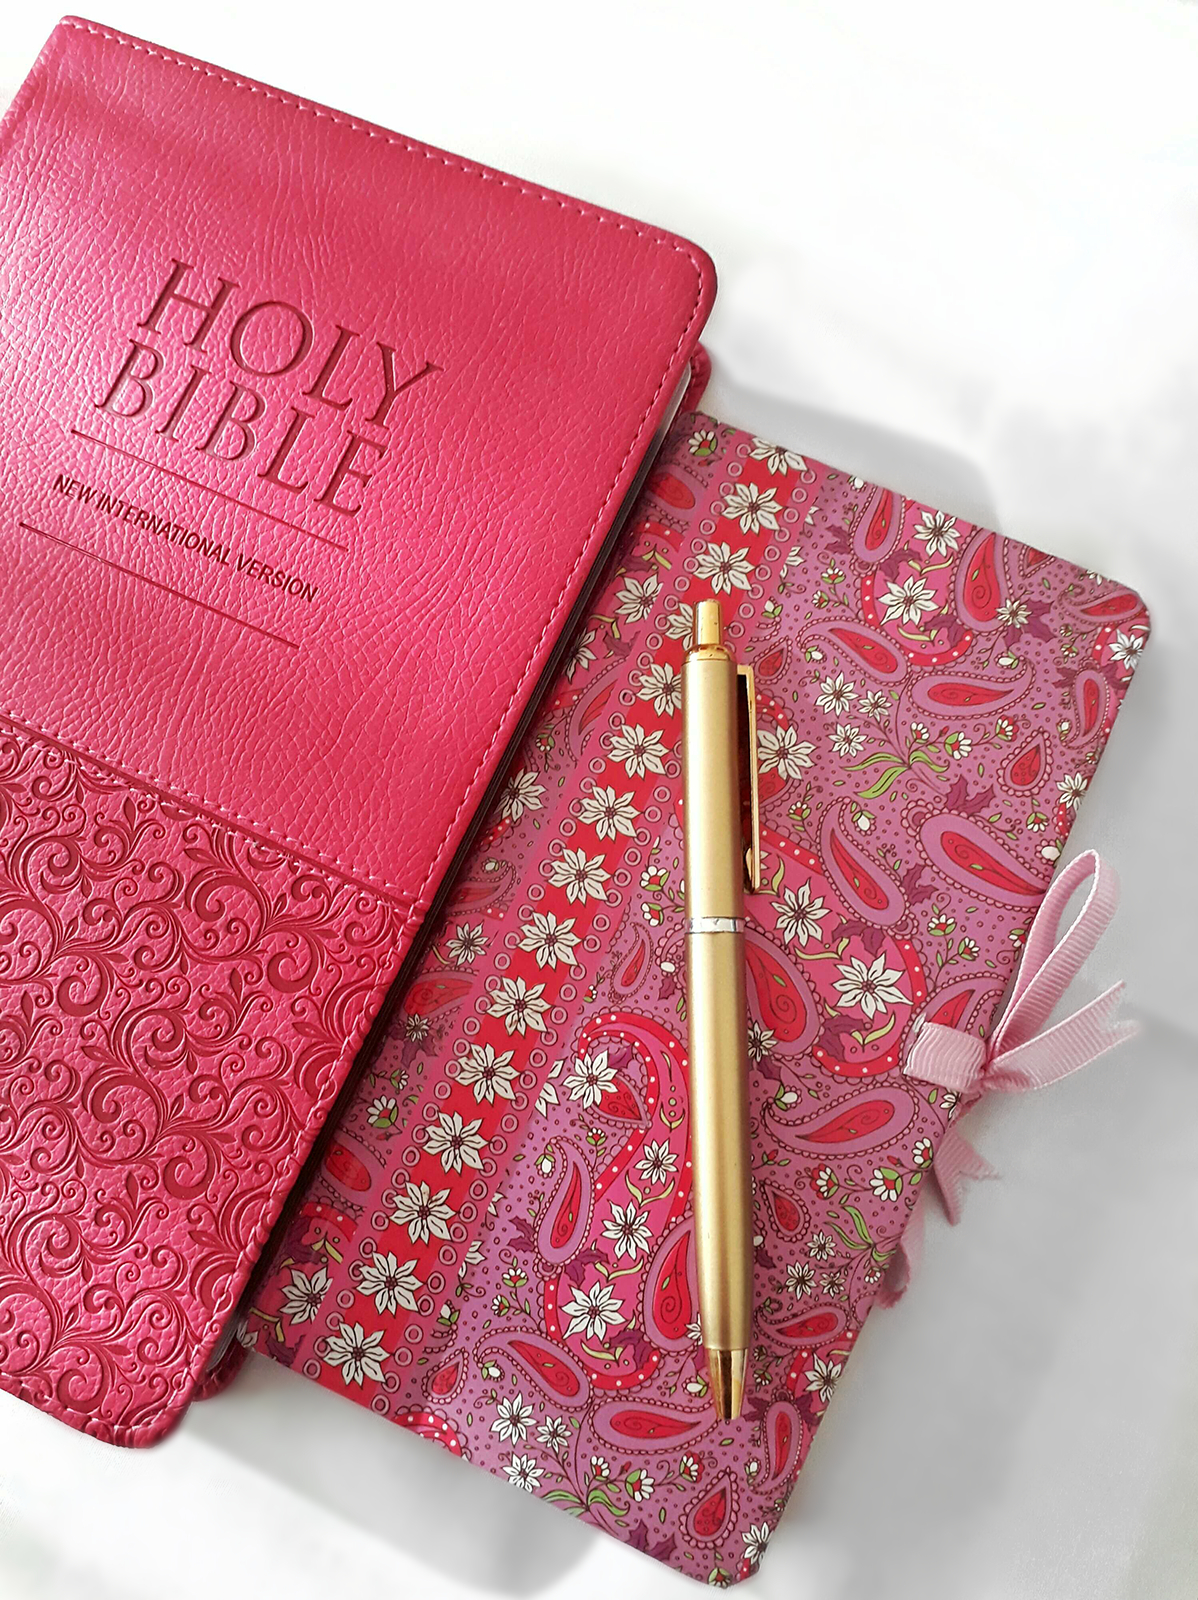
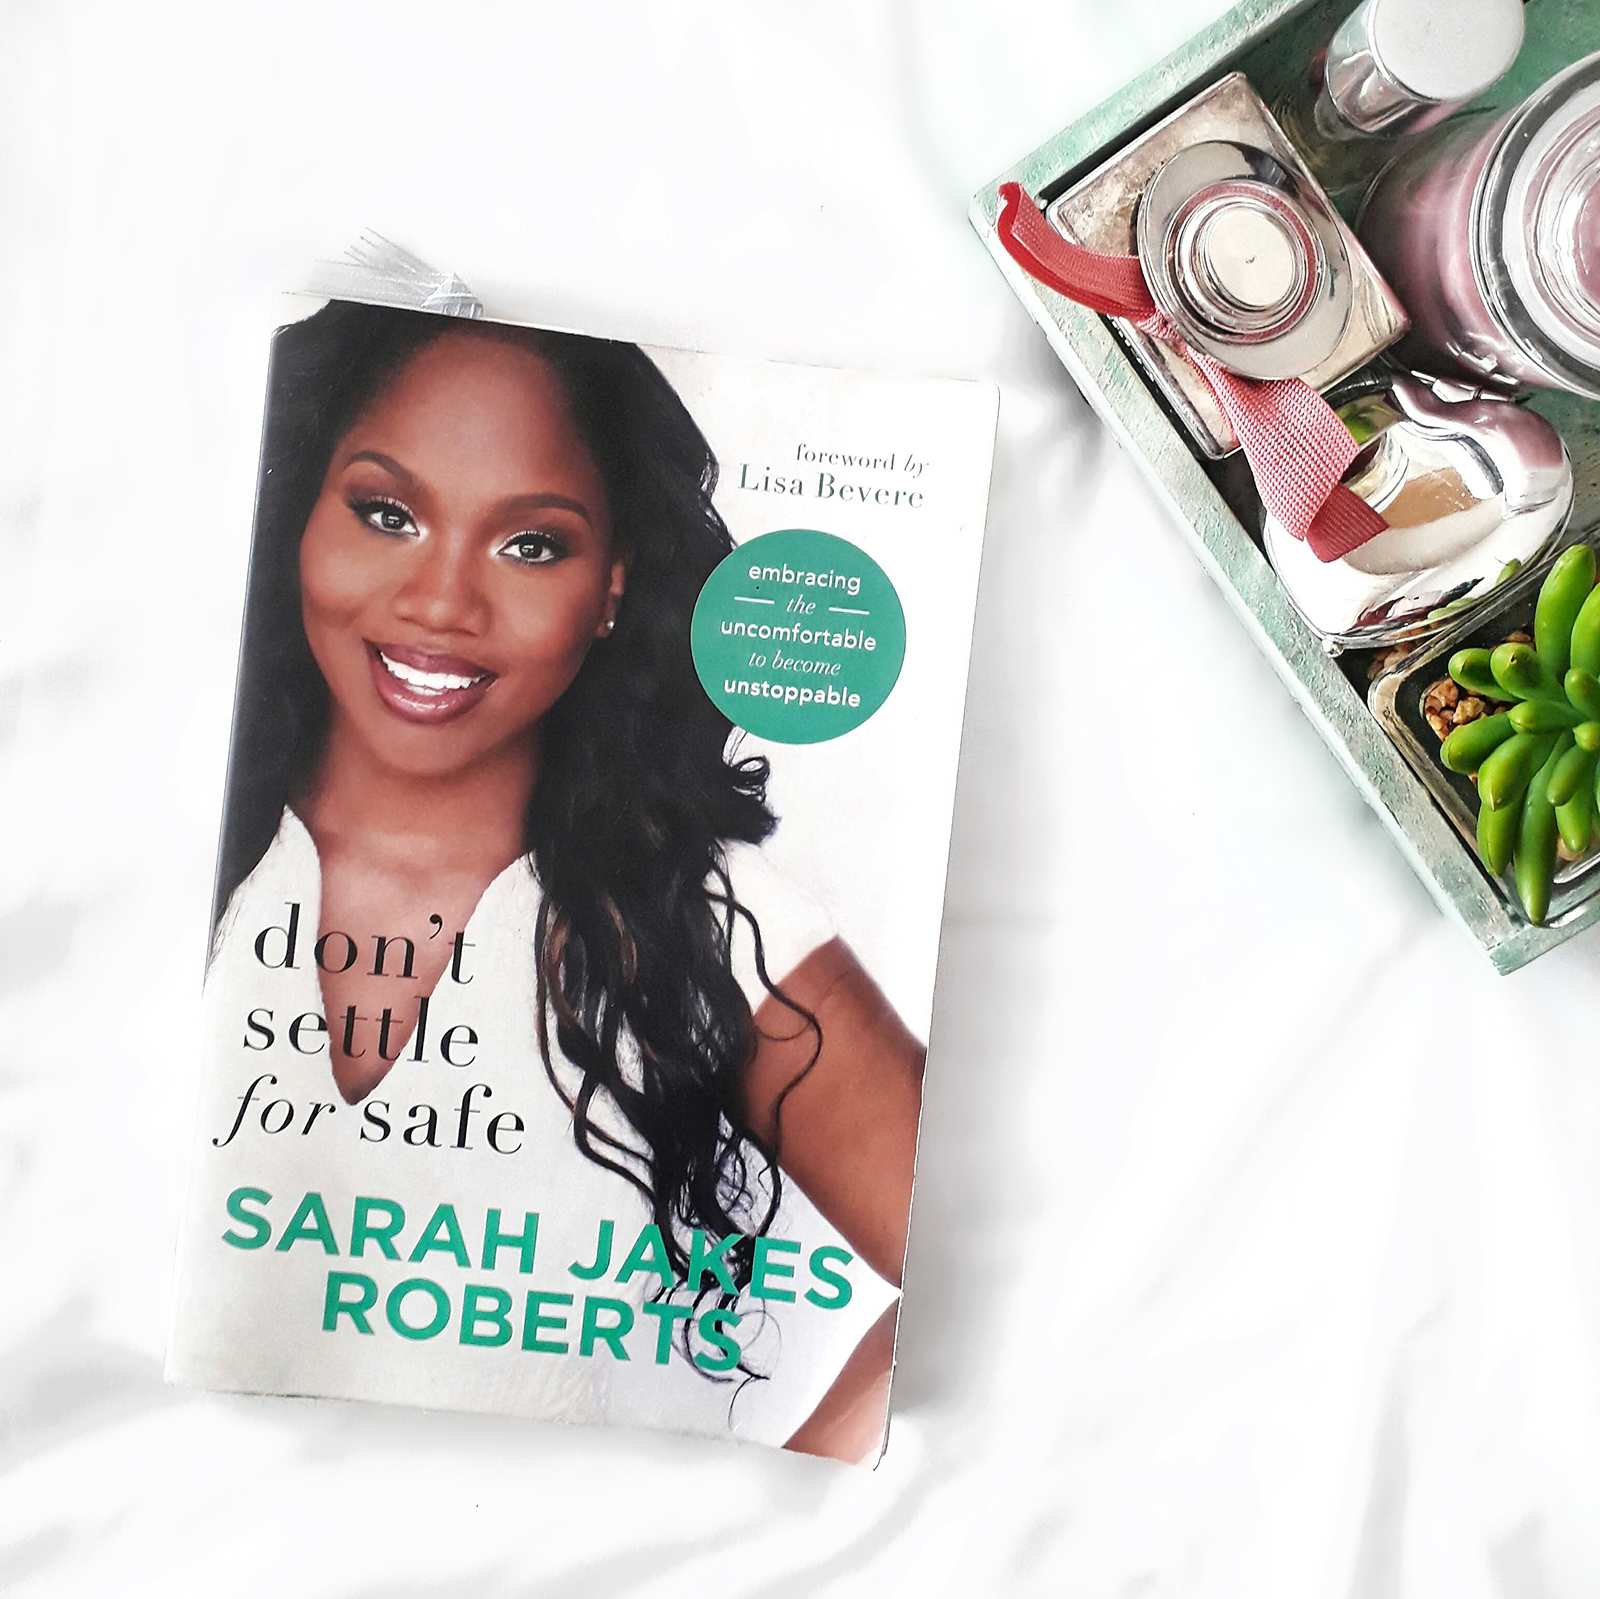
More of my recent snaps I’m pretty chuffed with😊:


* * *
Thank you for reading and have a beautiful weekend. Stay connected with me on Instagram – @angietinashe.
Love,
Ange.

lovely post Angie, your flatlay is goals..Awesome tips and tricks
LikeLiked by 2 people
Thank you so much 🌻🌻
LikeLike
I want to utilize my insta more and your tips I will most definitely keep in mind….Thank you so much for sharing your awesomeness!
LikeLiked by 1 person
You are most welcome and thank you! 😊
LikeLiked by 1 person
Hi Angie, do you have an e-mail I could reach you on? I wasn’t able to find any on the blog, would love to hear if you’re open to collab? You’re also more than welcome to write directly to me on emily@blogerize.com if you don’t want to publish your e-mail here in the comments 🙂
LikeLike
Hi Emily, I’m struggling to mail you. angietinashe@gmail.com 🌻
LikeLike